
Irresistible Peanut Butter S’mores Bars: The Ultimate Campfire Treat, No Fire Required!
Introduction
Growing up, our summer evenings were filled with laughter, warm breezes, and the gooey, chocolaty delight of s’mores. My brothers and I would huddle around the campfire, each of us thrusting skewers of marshmallows into the air, eagerly watching them roast to sticky perfection. But let me tell you, as much as I adored those traditional treats, I’ve discovered a way to elevate that nostalgic experience right in my kitchen with Peanut Butter S’mores Bars!
This recipe is a warm hug that tugs at your heartstrings, blending the classic flavors of s’mores with creamy peanut butter—because honestly, what doesn’t get better with peanut butter? The chewy graham cracker crust, luscious peanut butter layer, and indulgent chocolate topped with fluffy marshmallows create an unforgettable dessert that hits all the right notes of nostalgia and comfort.
What makes these bars extra special? Unlike their traditional counterpart, you don’t have to deal with the mess of a campfire, and each bite is perfectly proportioned, allowing you to enjoy that melty goodness without losing a single marshmallow. Stick around, and I’ll guide you through how to create these mouthwatering bars that will surely become a staple in your home.
What Are Peanut Butter S’mores Bars?
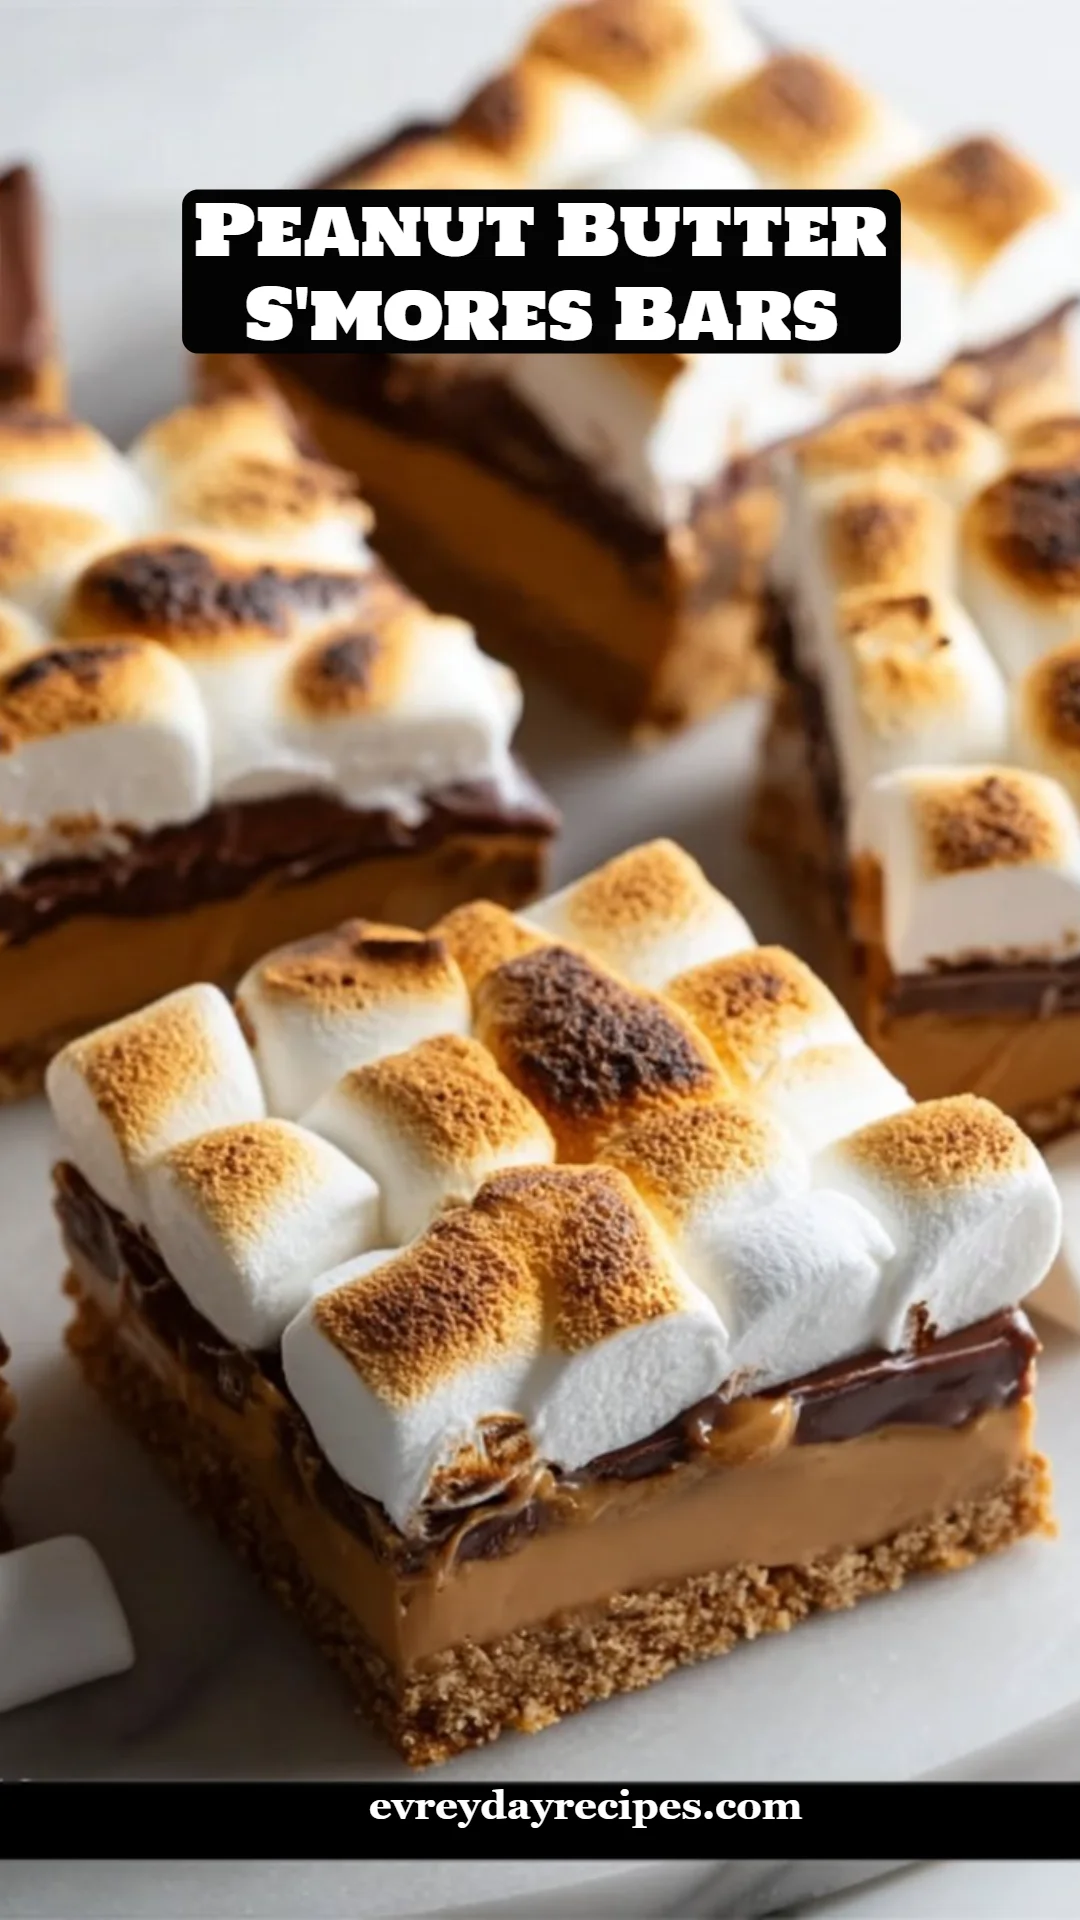
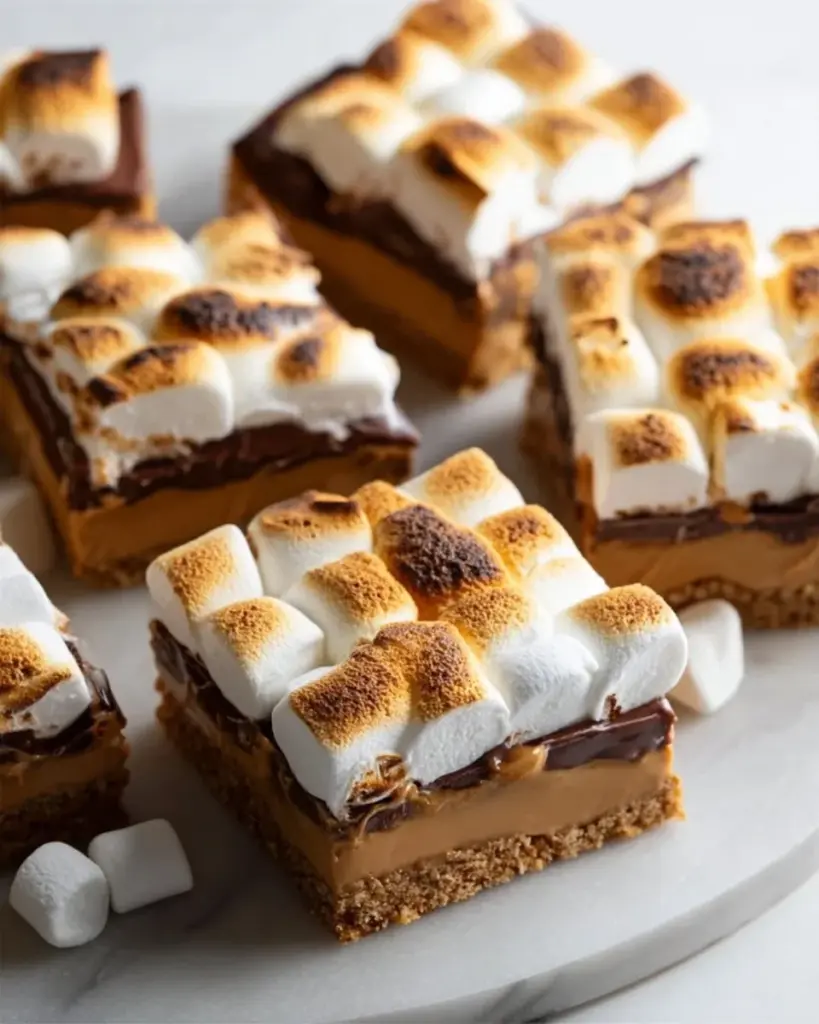
Peanut Butter S’mores Bars are the delightful fusion of two beloved treats: the classic s’more and the creamy, nutty flavor of peanut butter. Imagine layering a sweet, crumbly graham cracker crust, followed by a rich peanut butter filling, topped off with smooth melted chocolate and fluffy mini marshmallows—all coming together in perfect harmony.
Historically, s’mores date back to the early 20th century, traditionally built around campfires with simple ingredients. However, these bars bring that nostalgic flavor indoors, making them perfect for parties, potlucks, or simply a cozy night at home.
They strike a perfect balance between chewy and crunchy, with each layer complementing the other in flavor and texture. Whether you’re reliving childhood memories or creating new ones, these bars are an extraordinary treat for any occasion.
Why You’ll Love This Recipe
Easier Than Campfire S’mores: Forget the hassle of roasting marshmallows and getting all sticky; these bars offer the same satisfaction without the mess. Each layer is straightforward and easily manageable, making this recipe perfect for home bakers of all skill levels.
Cost-Effective Delight: You might think that crafting such a gourmet treat would be costly, but making these bars at home is much cheaper than store-bought desserts. Plus, you’ll have enough to share with friends and family!
Customization Galore: Want to switch it up? Feel free to use dark chocolate or even add different toppings like coconut, crushed nuts, or honey for a twist. The sky’s the limit, and you can make these bars cater to your taste preferences!
Impressive But Simple: These bars will wow your friends and family when served at gatherings, but they are incredibly easy to make! You’ll be a baking superstar without breaking a sweat.
Perfect for Any Occasion: From backyard BBQs to cozy movie nights, these Peanut Butter S’mores Bars fit right in. They make a delightful dessert year-round, and who wouldn’t want to indulge in something so deliciously comforting?
Ingredients
- 2 cups graham cracker crumbs (I recommend Honey Maid for that perfect sweetness)
- 1/2 cup unsalted butter, melted (Make sure it’s at room temperature for easy mixing)
- 1/4 cup granulated sugar
- 1 cup creamy peanut butter (Go for Jif or Skippy for a smooth texture)
- 1/2 cup powdered sugar
- 1/2 teaspoon vanilla extract (For that extra hint of flavor)
- 1 1/2 cups milk chocolate chips (Ghirardelli has a great melt; don’t skimp!)
- 1 tablespoon butter (For mixing with chocolate)
- 2 to 3 cups mini marshmallows (Use a generous amount for that gooey topping, and feel free to mix it with seasonal varieties if available)
Prep Notes: Ensure your butter is melted but not too hot to avoid melting the peanut butter mixture in the next step.
Step-by-Step Instructions
Preheat your oven to 350°F (175°C) and line an 8×8 inch baking pan with parchment paper, leaving overhang for easy removal.
Combine the graham cracker crumbs, melted butter, and granulated sugar in a bowl and stir until the mixture resembles wet sand.
Press the mixture firmly into the bottom of the prepared pan using the back of a spoon or a flat glass to create an even layer.
Bake for 8 to 10 minutes until lightly set, then remove from the oven and allow to cool slightly.
Mix the peanut butter, powdered sugar, and vanilla extract in a bowl until smooth and thick.
Spread the peanut butter mixture evenly over the slightly cooled crust, using gentle pressure to avoid disturbing the base.
Combine chocolate chips and 1 tablespoon of butter in a microwave-safe bowl, heating in 20-second intervals, stirring between each, until fully melted and smooth.
Pour melted chocolate over the peanut butter layer and spread evenly to cover the surface.
Sprinkle mini marshmallows evenly across the chocolate layer, ensuring a full, even topping.
Return the pan to the oven and bake for 5 to 7 minutes until marshmallows are puffed and lightly golden.
Optional: For a deeper golden color, place under the broiler for 1 to 2 minutes, watching closely to prevent burning.
Remove from the oven and let bars cool completely at room temperature, then chill if needed to fully set layers.
Lift bars from the pan using the parchment overhang and slice into 12 even squares before serving.

Expert Tips & Tricks
Quality Counts: Using high-quality chocolate and peanut butter will greatly impact the flavor of your bars, so don’t hold back!
Chilling Time: If you’re patient enough to chill these bars for an hour after baking, you’ll enjoy clean, beautiful squares when you cut them.
Storage Recommendations: Store these bars in an airtight container at room temperature for up to 3-4 days. You can also freeze them for up to a month; just make sure to wrap them tightly!
Make Ahead: You can prepare the crust and peanut butter layer in advance and assemble them right before you bake!
Troubleshooting: If your chocolate starts to harden while pouring, gently reheat for a few seconds in the microwave to loosen.
Serving Suggestions
Pair these bars with a cold glass of milk for a classic combination! You could also consider serving them alongside a scoop of vanilla or caramel ice cream for an extra indulgent treat. Presentation-wise, they’re beautiful served on a rustic wooden board or cut into fun shapes for a kid’s party. They are fantastic for potlucks, family gatherings, or as a special treat for movie night!
Variations & Substitutions
Chocolate Variations: Substitute milk chocolate with dark chocolate or white chocolate for a different flavor profile.
Nuts: Stir in some crushed peanuts or walnuts for an added crunch.
Dietary Needs: For gluten-free versions, use gluten-free graham crackers, and nut-free options can replace peanut butter with sunflower butter or a seed butter of choice.
Seasonal Fun: Add pumpkin spice or peppermint flavoring in the fall and winter months for a festive twist!
Nutrition & Storage Info
- Prep Time: 15 minutes
- Cook Time: 25-30 minutes
- Total Time: 45-60 minutes
- Yield: 12 servings
- Estimated Calories: 200 calories per serving
- Storage Instructions: Keep bars in an airtight container at room temperature; will last 3-4 days.
FAQ Section
Can I use crunchy peanut butter?
Absolutely! Crunchy peanut butter adds a unique texture that many enjoy.What if I prefer dark chocolate?
Dark chocolate would be fantastic! Adjust the sugar in your peanut butter mixture accordingly based on sweetness preference.Can I make these vegan?
Yes! Use vegan butter, dark chocolate chips, and a plant-based alternative for peanut butter.Why do my bars crumble when I cut them?
Ensure you let them cool completely and then chill them before cutting. This will help them hold their shape.Can I double the recipe?
Yes! If you want to make a larger batch, just bake in a 9×13 inch pan and adjust baking time accordingly.What if I can’t find graham crackers?
You can use digestive biscuits or even cookies to create a delicious crust!How can I reheat these bars?
Place the bars in a microwave for a few seconds or enjoy them warm directly from the oven.Do I need to use mini marshmallows?
You can use regular marshmallows, just cut them into smaller pieces for even distribution.Can I freeze these bars?
Absolutely! Wrap them individually and store them in the freezer. They’ll be good for about a month.Can I add other flavor layers?
Yes! Making a layer of caramel or a different nut butter can be a fun twist on this classic recipe.
Conclusion
In the realm of desserts, these Peanut Butter S’mores Bars truly stand out by combining nostalgic flavors with modern convenience. Whether you’re baking for a gathering, a holiday, or just because you deserve a treat, these bars will not disappoint. I eagerly encourage you to give this recipe a try—your taste buds will thank you!
After you’ve made these delicious bars, I’d love to hear your thoughts and any variations you tried. Don’t forget to check out other delightful recipes on my blog for your next baking adventure!
Peanut Butter S'mores Bars
Ingredients
Method
- Preheat your oven to 350°F (175°C) and line an 8x8 inch baking pan with parchment paper, leaving overhang for easy removal.
- Combine the graham cracker crumbs, melted butter, and granulated sugar in a bowl and stir until the mixture resembles wet sand.
- Press the mixture firmly into the bottom of the prepared pan using the back of a spoon or a flat glass to create an even layer.
- Bake for 8 to 10 minutes until lightly set, then remove from the oven and allow to cool slightly.
- Mix the peanut butter, powdered sugar, and vanilla extract in a bowl until smooth and thick.
- Spread the peanut butter mixture evenly over the slightly cooled crust.
- Combine chocolate chips and 1 tablespoon of butter in a microwave-safe bowl and heat in 20-second intervals, stirring between each until fully melted and smooth.
- Pour melted chocolate over the peanut butter layer and spread evenly.
- Sprinkle mini marshmallows evenly across the chocolate layer.
- Return the pan to the oven and bake for 5 to 7 minutes until marshmallows are puffed and lightly golden.
- For a deeper golden color, optionally place under the broiler for 1 to 2 minutes, watching closely.
- Remove from the oven and let bars cool completely at room temperature, then chill if needed to fully set layers.
- Lift bars from the pan using the parchment overhang and slice into 12 even squares before serving.