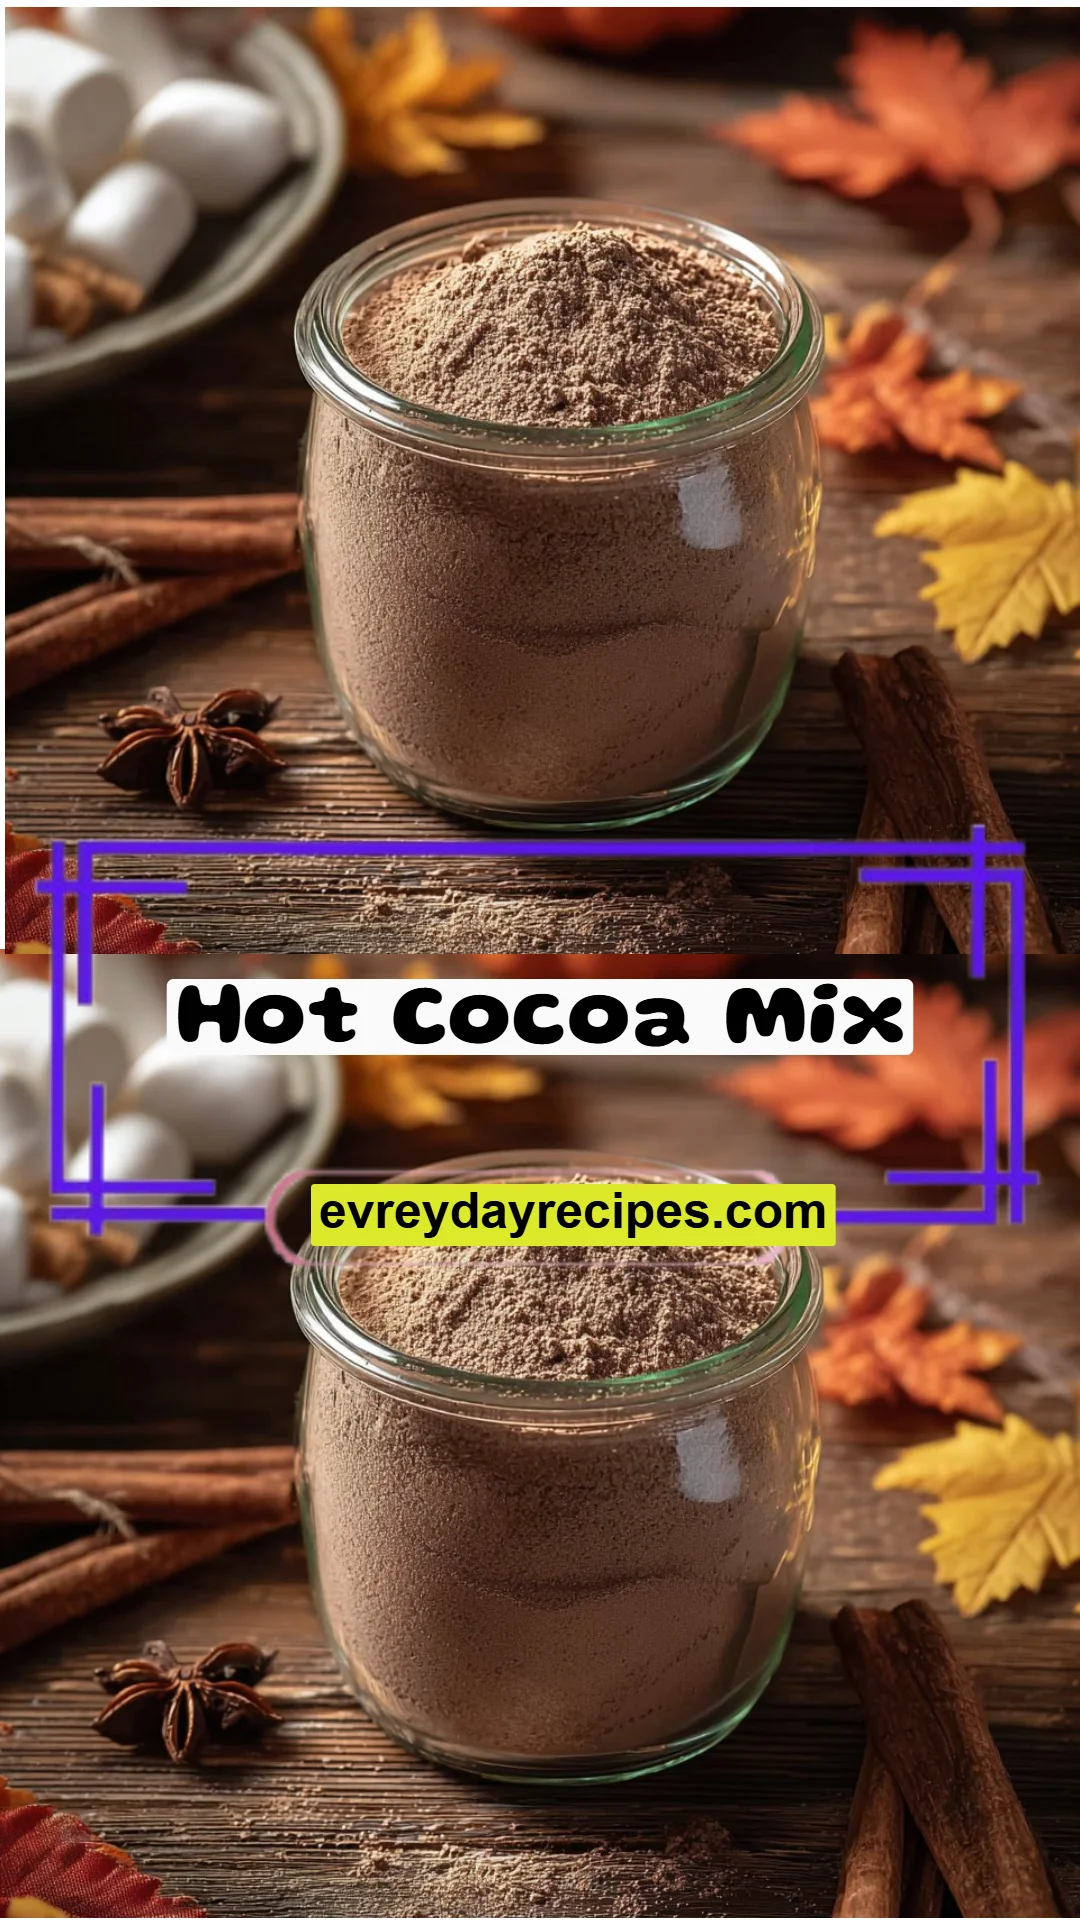
The Ultimate Hot Cocoa Mix: Indulgent, Cozy, and Perfect for Any Occasion
Growing up, nothing beat the soul-warming comfort of curling up on the couch with a mug of hot cocoa while the snow fell silently outside. I still remember the sweet smell of cocoa wafting through the air as my mom stirred together her very own hot cocoa mix—a delightful blend that made even the coldest winter days feel like a warm hug. Today, I’m excited to share with you my take on that beloved recipe: an Ultimate Hot Cocoa Mix that’s easy to whip up and is sure to become a staple in your home!
What makes this hot cocoa mix so special is its unique combination of ingredients, including a hint of pumpkin pie spice that adds a gourmet touch without complicating the recipe. Unlike store-bought mixes loaded with preservatives, this homemade version uses only the freshest ingredients, creating a rich, velvety texture and a flavor that’s simply out of this world. It’s comforting and nostalgic, a little piece of childhood that you can recreate in your own kitchen.
In this post, you’ll learn how to make your very own indulgent hot cocoa mix, customize it to your liking, and perhaps even create some new family memories along the way!
What Are Hot Cocoa Mixes?
Hot cocoa mixes, in their simplest form, are powdered blends designed to create a quick and delicious cup of cocoa by just adding hot water or milk. The origins can be traced back to the ancient Mayans, who prepared a spicy chocolate drink known as “xocoatl.” Over centuries, hot chocolate evolved into the sweet, comforting beverage we enjoy today, with mixes gaining popularity for their convenience.
Hot cocoa mixes are known for their rich, chocolatey flavor and creamy texture, making them the perfect indulgence on a chilly day or a delightful treat any time of year. What sets my Ultimate Hot Cocoa Mix apart is its thoughtful ingredient choices, including pumpkin pie spice, which adds warmth and depth. This mix works wonders for cozy nights at home, holiday gatherings, or even as a thoughtful gift for loved ones. Whenever you’re looking for something comforting and delightful, this homemade hot cocoa mix is a true winner.
Why You’ll Love This Recipe
Homemade Goodness: Unlike supermarket options that often contain artificial flavors and preservatives, my hot cocoa mix is made with wholesome ingredients. You know exactly what goes in, and it tastes infinitely better!
Cost-Effective: Making this hot cocoa mix at home is not only budget-friendly, but it also produces several servings at just a fraction of the cost of purchasing single-serve packets.
Complete Customization: One of the best things about this recipe is how versatile it is! Want a minty twist? Add crushed peppermint. Prefer something extra decadent? Swap in dark chocolate cocoa powder or a hint of vanilla extract. You can make this mix truly your own.
Quick and Easy: You’ll have a delicious hot cocoa mix whipped up in just a few minutes. It’s a hassle-free approach that’s perfect when you’re short on time but still want something comforting.
Perfect for Gifting: Pack this hot cocoa mix in a cute jar, add a ribbon, and you’ve got a thoughtful homemade gift for friends, family, or even colleagues. It’s perfect for the holiday season or any special occasion.
With minimal equipment, a dash of creativity, and just a little bit of time, you’ll be able to enjoy the best hot cocoa experience right at home. Trust me, once you try this recipe, you’ll never go back to store-bought!
Ingredients
For the Hot Cocoa Mix:
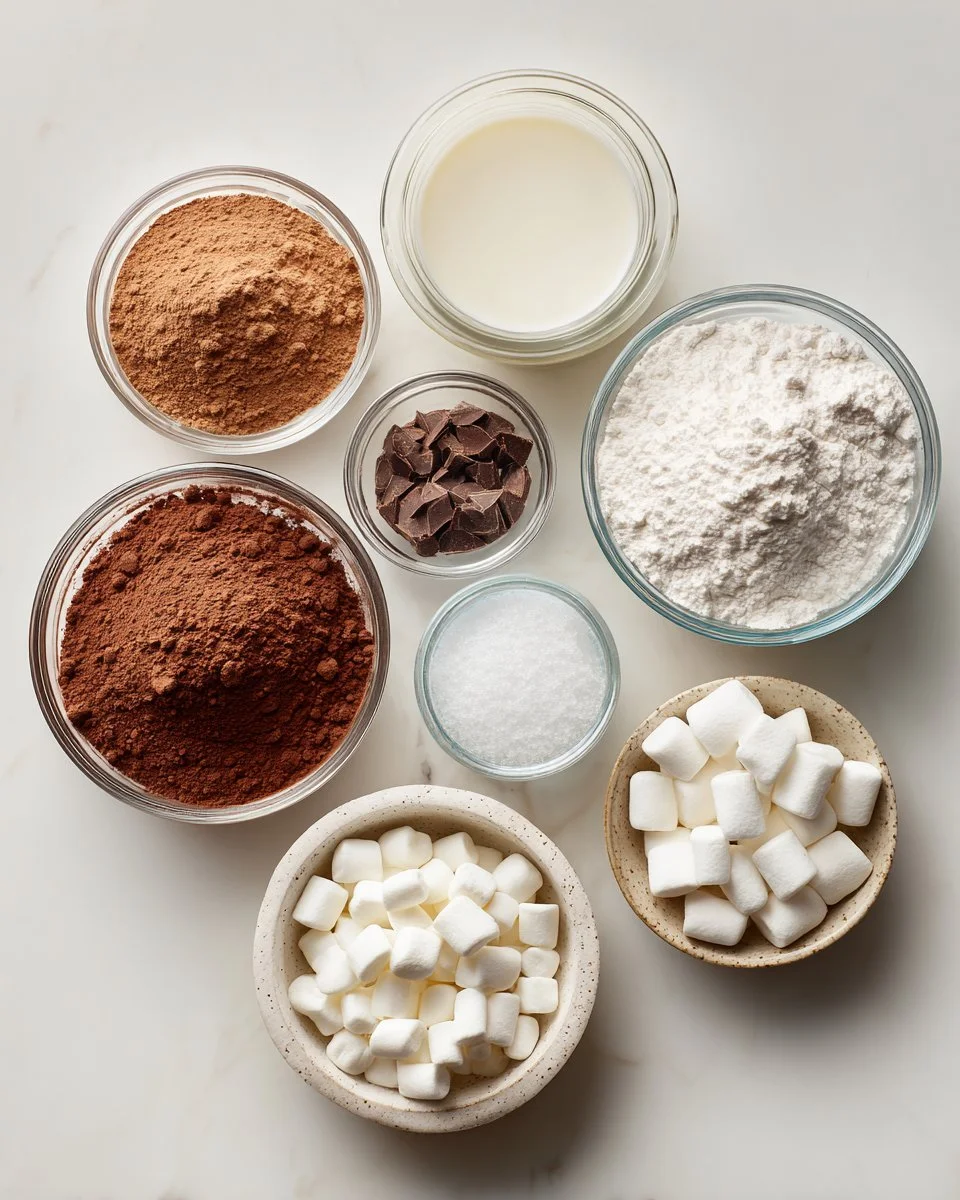
- 1 1/4 cups powdered milk: Look for high-quality powdered milk for creaminess; brands like Nesquik or Carnation are reliable choices.
- 1 cup confectioners’ sugar: This adds sweetness and helps create a smooth texture. Either store-brand or name brands work well here.
- 1/2 cup unsweetened cocoa powder: I personally enjoy using Hershey’s Unsweetened Cocoa Powder, but feel free to experiment with organic or Dutch-processed cocoa for a richer flavor.
- 2 teaspoons pumpkin pie spice: A warm blend that elevates the cocoa; you can adjust according to personal taste.
- 1 teaspoon cornstarch: This helps prevent clumping and keeps the mix light and fluffy.
- 1/2 teaspoon kosher salt: A small amount of salt enhances the overall flavor of the cocoa.
- Hot water or whole milk: For the ultimate indulgence, use whole milk; it makes the cocoa extra creamy!
- Mini marshmallows (optional): The perfect little topping for a bit of whimsy.
- Whipped cream (optional): For those who prefer their hot cocoa extra decadent!
Notes on Ingredient Quality/Substitutions: Opting for premium ingredients can elevate your hot cocoa experience. You can substitute sugar with coconut sugar for a less processed alternative or swap pumpkin pie spice with cinnamon and nutmeg if you prefer a different flavor profile.
Prep Notes: Ensure that your ingredients, especially the butter (if you’re using any), are at room temperature for easier mixing.
Step-by-Step Instructions
Mix the Dry Ingredients: In a large mixing bowl, combine 1 1/4 cups powdered milk, 1 cup confectioners’ sugar, 1/2 cup unsweetened cocoa powder, 2 teaspoons pumpkin pie spice, 1 teaspoon cornstarch, and 1/2 teaspoon kosher salt. Using a whisk, blend until all the ingredients are evenly combined—this should take about 1-2 minutes. Make sure there are no clumps.
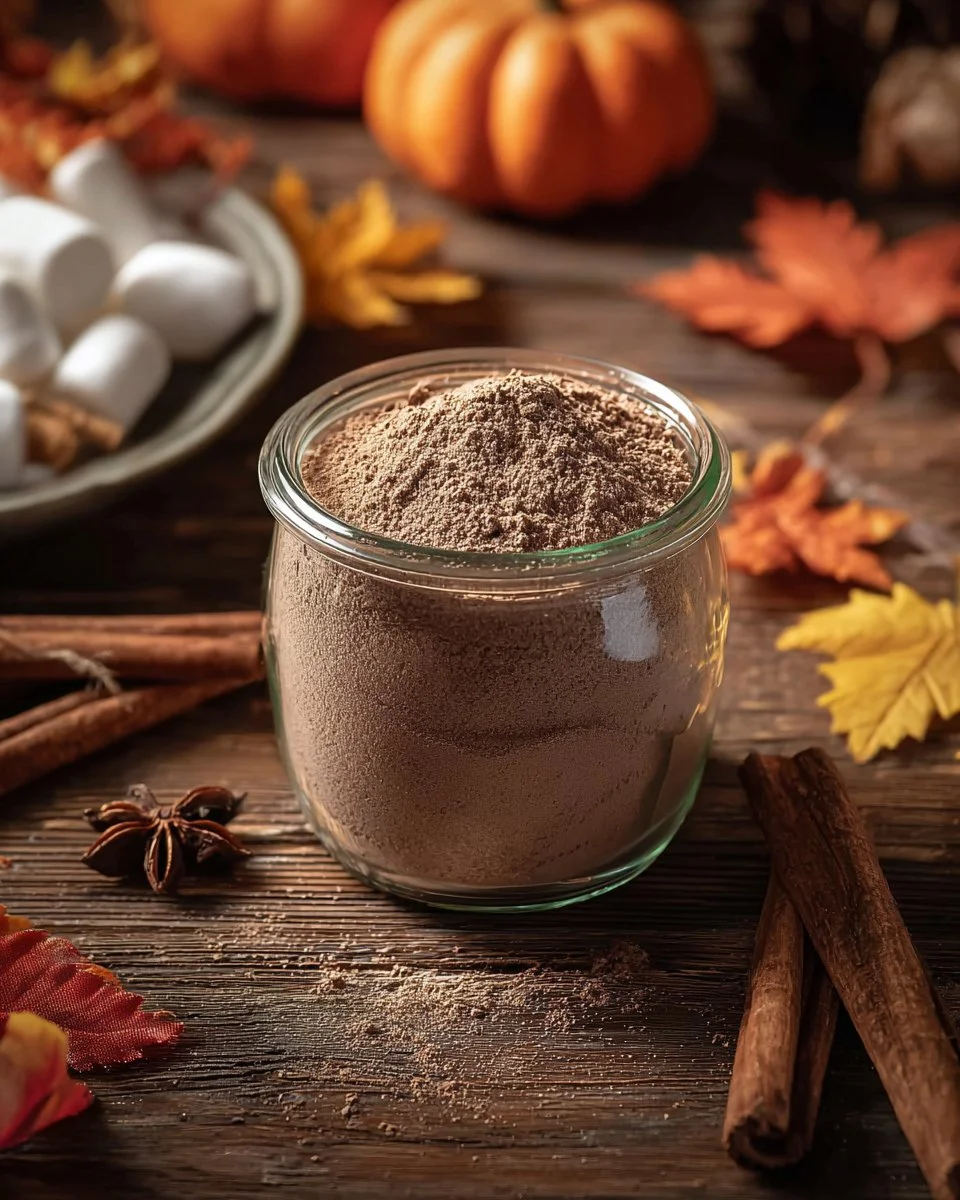
Store the Mixture: Transfer your cocoa mix into an airtight container. You can use a glass jar, which not only stores well but also makes for a beautiful gift. Store in a cool, dry place for up to 1 year.
Prepare Your Hot Cocoa: When you’re ready to enjoy your cocoa, measure 1/4 cup of the hot cocoa mix into a glass mug.
Add Liquid: Pour 1 cup of hot water or whole milk over the mix. If using milk, heat it until steaming but not boiling; this usually takes about 2-3 minutes on the stove or 1-1.5 minutes in the microwave.
Stir Smooth: Stir the mixture until all the powder is dissolved and you have a smooth, silky drink. This should take about 1 minute—look for a rich, chocolatey color and consistency.
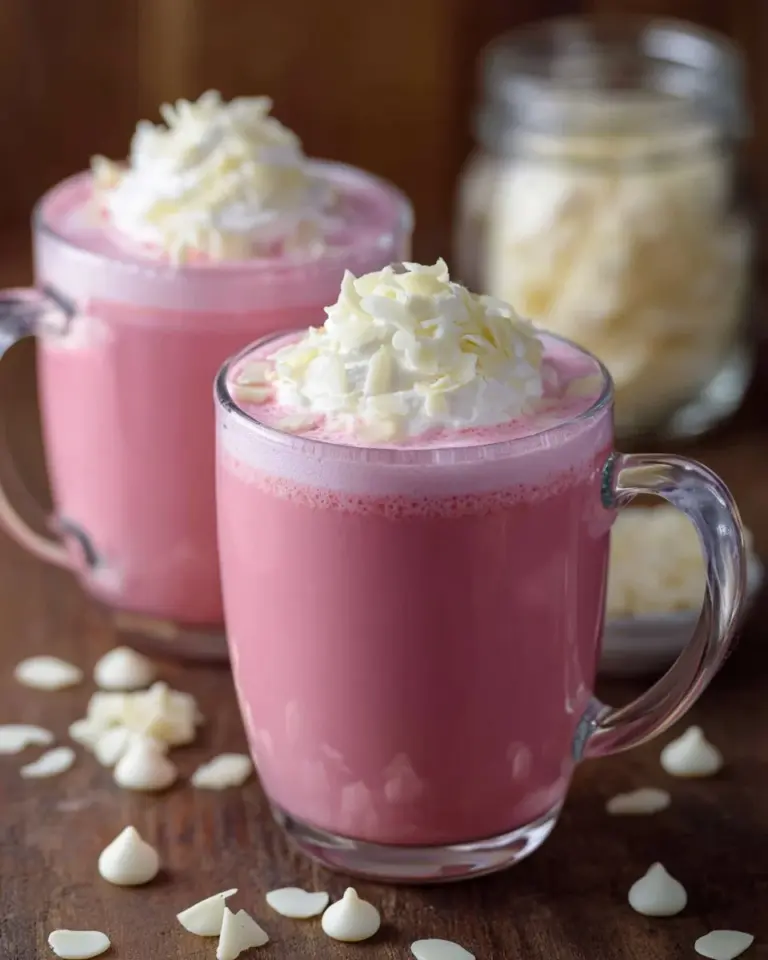
Top It Off (Optional): Sprinkle mini marshmallows or add a dollop of whipped cream to make your cocoa even more delightful!
Chef’s Tips:
- Avoid letting milk come to a boil, as it can curdle.
- Use a frother for a fun and aerated texture!
Common Mistakes to Avoid: The biggest mistake is not properly mixing the dry ingredients, which can create clumps. Take your time on this step!
Expert Tips & Tricks
Storage Recommendations: Keep the hot cocoa mix in a sealed jar in a cool, dry area away from moisture and heat sources.
Make-Ahead Instructions: You can whip up this hot cocoa mix in advance and store it for planned cozy nights in or surprise guests.
Troubleshooting Common Problems: If your hot cocoa is too sweet, balance with a pinch more salt. If too bitter, a tiny bit more sugar can work wonders, but do this gradually!
Extra Creaminess: Mix in a splash of vanilla extract for a gourmet touch.
Gifting: For a fun twist, include a little note with the instructions on how to prepare it, making it clear that this treat is crafted with love!
Serving Suggestions
Pair your hot cocoa with classic snacks like gingersnap cookies or chocolate chip cookies for the perfect winter afternoon. You could also enjoy it with popcorn for a cozy movie night! To make it visually appealing, serve the cocoa in cute, festive mugs topped with a sprinkle of cocoa powder for an extra touch. This warm treat is perfect for rainy days, holiday gatherings, or just a quiet evening at home—any occasion that calls for a bit of indulgence deserves a cup of this hot cocoa!
Variations & Substitutions
- Flavored Options: Experiment with flavors! Add peppermint extract for a mint chocolate twist, or a spoonful of hazelnut spread for a Nutella-inspired hot cocoa.
- Dietary Adaptations: If you’re lactose intolerant, substitute with almond, soy, or oat milk. People on a low-sugar diet can use stevia or another sugar substitute.
- Seasonal Spices: For a festive feel, try swapping in some cinnamon or a dash of nutmeg during the holiday season!
Nutrition & Storage Info
- Prep Time: 10 minutes
- Cook Time: N/A
- Total Time: 10 minutes
- Yield: 10 servings (1/4 cup per serving)
- Estimated Calories: About 90 calories per serving when prepared with hot water.
- Storage Instructions: Store the mix at room temperature in a sealed container. It can last for up to 1 year.
FAQ Section
Can I make this cocoa mix vegan?
- Absolutely! Use non-dairy powdered milk and substitute whole milk with plant-based alternatives.
How much hot cocoa mix do I use for one cup?
- For one cup of hot cocoa, use 1/4 cup of the cocoa mix.
Can I add flavors to the mix?
- Yes! Feel free to add flavored extracts like vanilla or peppermint before storing the mix.
How long will this hot cocoa mix last?
- Properly stored in an airtight container, it can last for up to 1 year.
Can I freeze hot cocoa mix?
- It’s best stored at room temperature, but if you live in a very humid area, freezing can help prevent clumping.
What’s the best way to enjoy this?
- It’s delicious on its own but even better with toppings like whipped cream, marshmallows, or a sprinkle of cinnamon.
Can I use cacao powder instead of cocoa powder?
- Yes, using unsweetened cacao powder will give it a richer, more intense chocolate flavor!
What’s the difference between cocoa powder and cacao powder?
- Cocoa powder is processed at high heat, while cacao powder is raw, retaining more nutrients. Both can work!
How do I make a bulk batch?
- Simply multiply the ingredient amounts by the number of servings you want; just ensure you have an appropriate container for storage.
Can I make this in advance for parties?
- Yes! Pre-mix the ingredients and store them in a jar—just bring it out when guests arrive!

Conclusion
This Ultimate Hot Cocoa Mix is not just a recipe; it’s a way to bring warmth and nostalgia into your home. It’s perfect for creating new family memories, gifting to loved ones, or simply curling up with after a long day. I encourage you to try this recipe and make it your own—whether through customization or the memories you create.
I would love to hear how your hot cocoa turns out! Leave a comment, or share your own variations. Don’t forget to check out related recipes on the blog for inspiration, including festive treats and warming pastries to elevate your cozy nights! Happy sipping!

Ultimate Hot Cocoa Mix
Ingredients
Method
- In a large mixing bowl, combine powdered milk, confectioners' sugar, cocoa powder, pumpkin pie spice, cornstarch, and kosher salt. Mix using a whisk until evenly combined.
- Transfer the cocoa mix to an airtight container for storage. Store in a cool, dry place for up to 1 year.
- When ready to enjoy, measure 1/4 cup of the cocoa mix into a glass mug.
- Pour 1 cup of hot water or whole milk over the mix. If using milk, heat it until steaming but not boiling.
- Stir until all powder is dissolved and the drink is smooth.
- Optional: Top with mini marshmallows or whipped cream if desired.