Scrumptious Mulberry Mousse Cake Filling: A Sweet Journey into Flavor
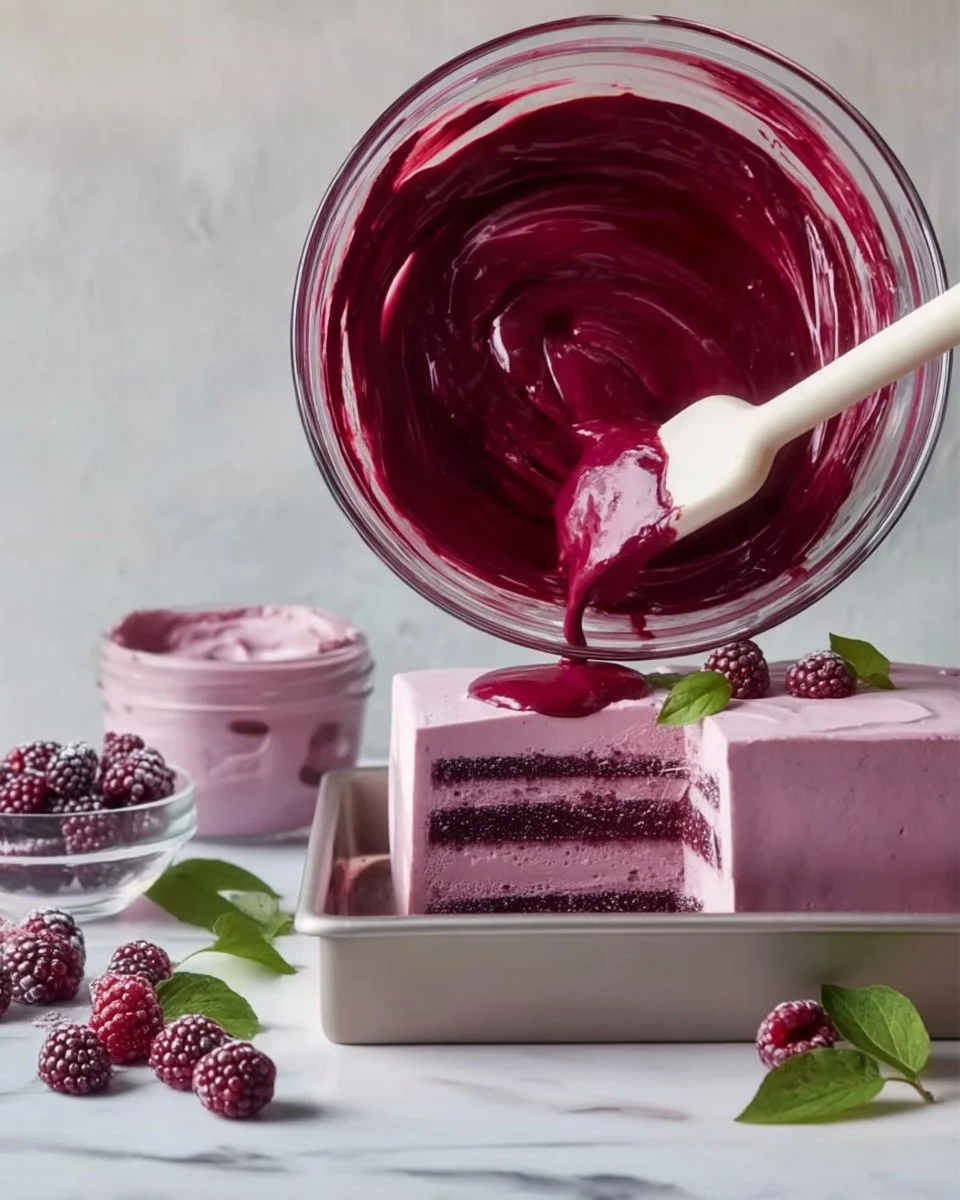
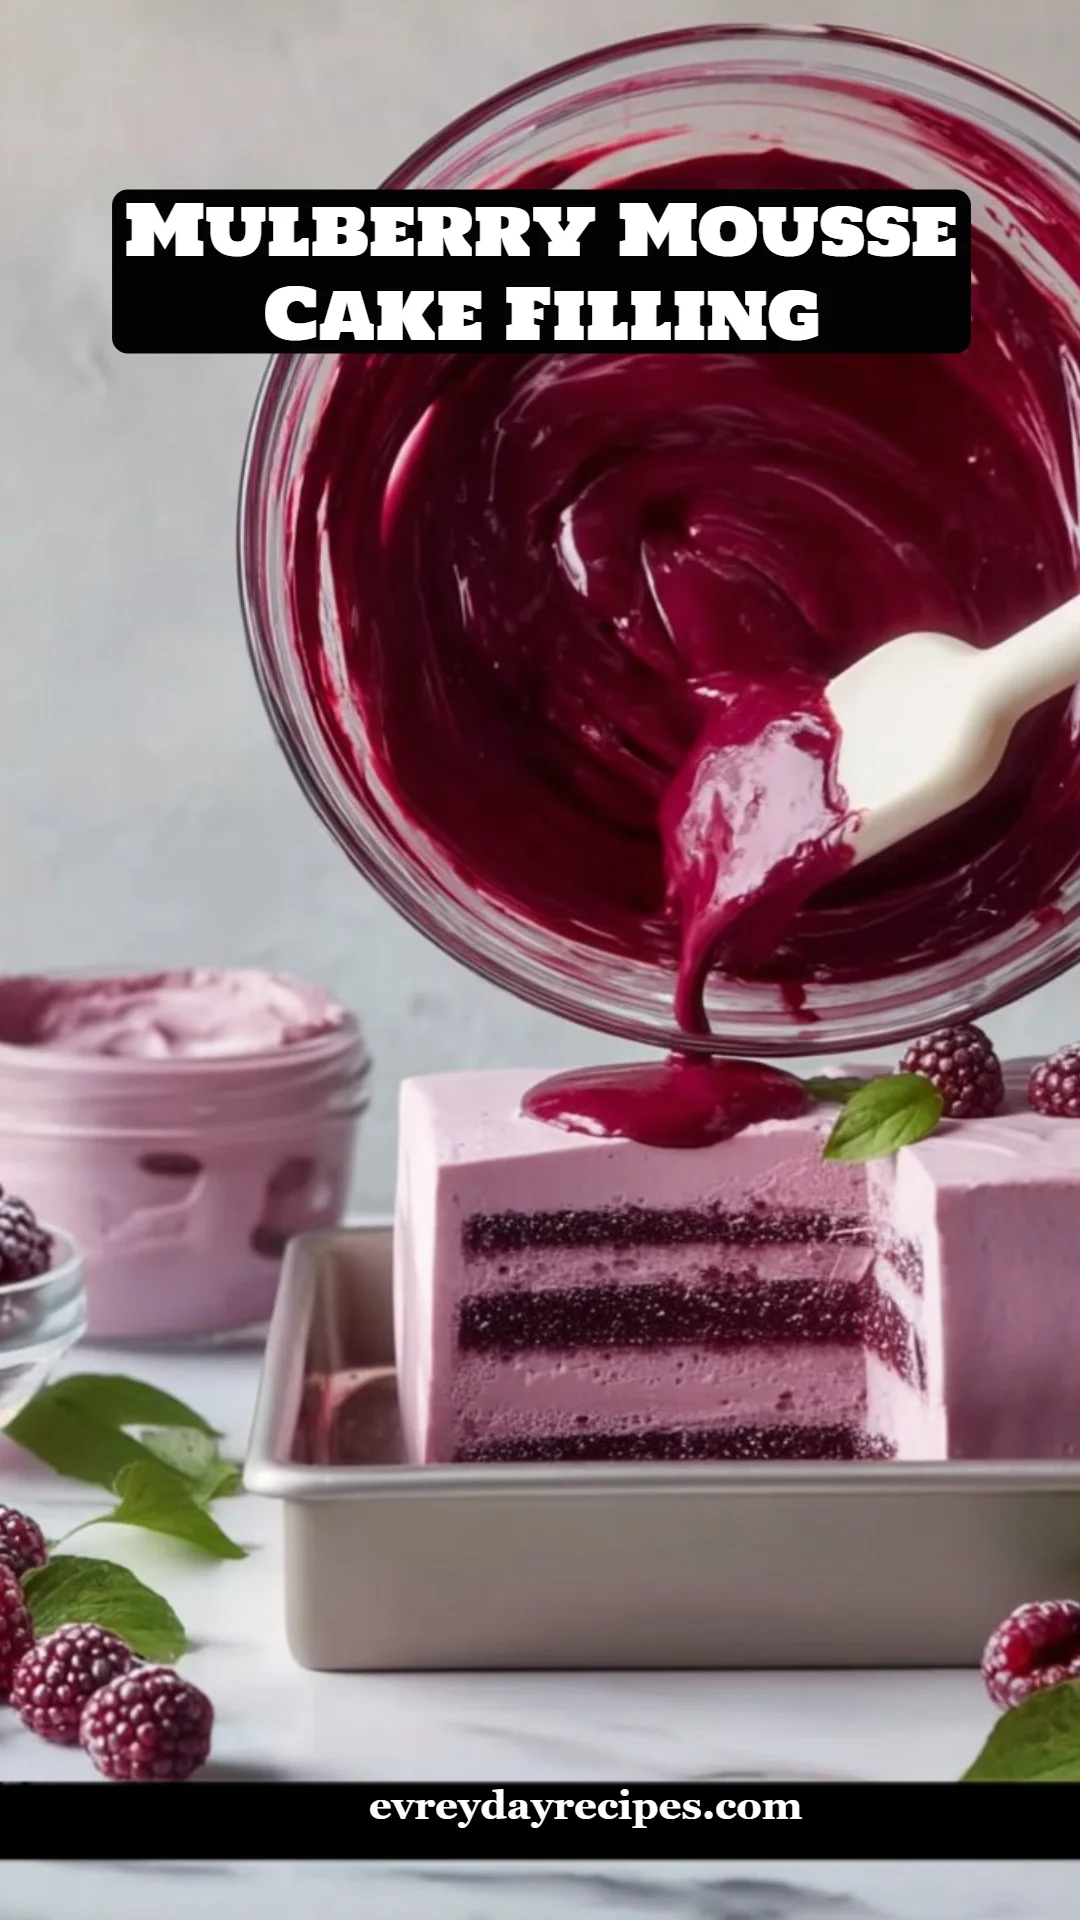
As I stood in my grandmother’s kitchen, the smell of berry-laden desserts wafting through the air, my heart filled with nostalgia. Summer afternoons were spent picking ripe mulberries from our backyard, staining our fingers purple with deliciousness. Those little berries meant more than just a treat; they were a bridge to family memories, cake slices, and laughter around the dinner table. Today, I want to share with you the magic of Mulberry Mousse Cake Filling—a lovely way to capture those childhood moments in a bottle (or rather, a cake layer).
What makes this mousse distinct from typical fillings is its light and airy texture paired with a tart berry burst that dances on your tongue. Instead of heavy creams that weigh down other desserts, this mousse is vibrant, refreshing, and ridiculously easy to whip up! You won’t find the same level of joy as when you make it from scratch, especially when you see your loved ones delight in that first bite.
In this recipe, I’ll guide you through crafting a Mulberry Mousse Cake Filling that promises not just to be a filling, but a heartwarming experience that enhances any cake. So, grab your aprons, and let’s dive in!
What Are Mulberry Mousse Cake Fillings?
Mulberry Mousse Cake Filling is not your average dessert filling; it’s a celebration of sweet, slightly tart flavors blended into a luscious, creamy mousse. Originating from the idea of using vibrant fruits in desserts, this mousse has roots steeped in homey tradition, making it a popular choice for summer and fall occasions.
The flavor profile of mulberries—a delicate mix of sweet and tart—combined with a richness from the cream cheese and heavy whipping cream makes for a unique and velvety texture. Each spoonful melts in your mouth and entices your taste buds, offering an overall experience that is luxuriously light yet deeply satisfying.
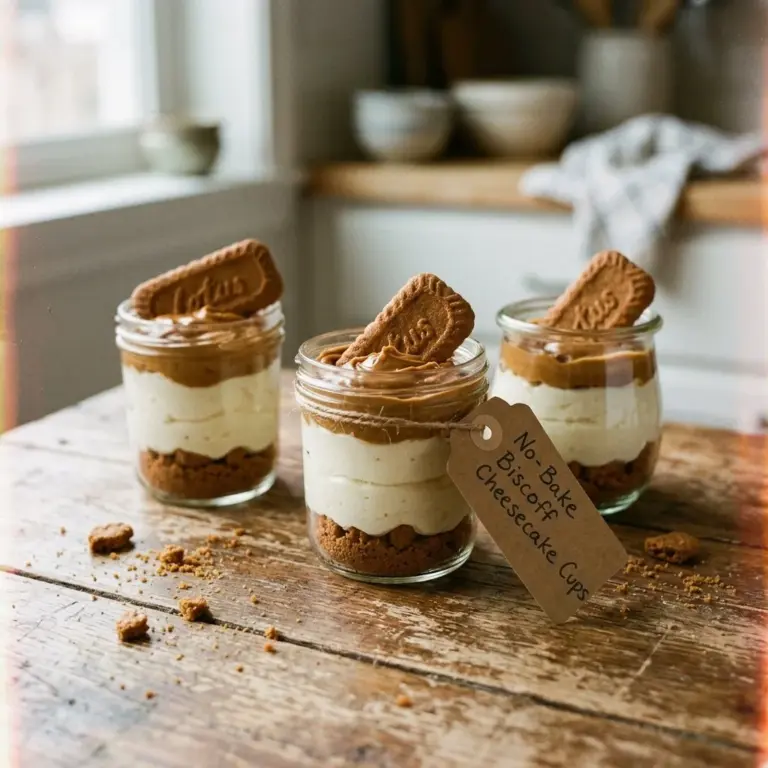
Consider making this filling for your next family gathering or special occasion, where it can shine beautifully layered in cakes or even served in elegant cups. Any time is perfect for indulging in this delightful mousse!
Why You’ll Love This Recipe
Outshines Store-Bought Options: While supermarket mousse fillings can often be overly sweet and lack depth, this homemade version is crafted with fresh mulberries and no artificial flavors. You’ll taste the difference!
Cost-Effective Deliciousness: Fresh mulberries may seem like a seasonal luxury, but this recipe is budget-friendly! It’s an excellent way to use seasonal produce without breaking the bank, especially if you can pick them from your own backyard.
Customizable to Perfection: Love chocolate? Swirl in some cocoa powder. Prefer a lighter note? Add a hint of mint. This mousse is versatile enough for you to play around with flavors until it’s just perfect for you and your guests.
Simplicity in Complexity: Although it looks fancy when layered in a cake, making this mousse is straightforward. Perfect for novice bakers like you, it requires only simple techniques that yield professional results.
Time Well Spent: With an actual hands-on time of about 30 minutes, this mousse is quick! Plus, it only needs to chill for about 30-45 minutes, so you can enjoy it in no time. The only hard part? Waiting for it to set!
Ingredients
- 2 cups fresh or frozen mulberries: Always opt for fresh if possible for the best flavor, but frozen works just as well.
- 1/2 cup granulated sugar: Adjust according to the sweetness of your mulberries.
- 1 tablespoon lemon juice: Enhances the berry’s flavor (freshly squeezed is best!).
- 1 teaspoon lemon zest: Adds a punch of citrusy brightness.
- 1 cup heavy whipping cream, cold: Cold cream whips better and provides that fluffy texture.
- 2 teaspoons unflavored gelatin: This is crucial for stabilizing your mousse.
- 3 tablespoons cold water: To bloom the gelatin.
- 1/2 cup cream cheese, softened: Use full-fat for the best creaminess.
- 1/4 cup powdered sugar: For a touch of sweetness that complements the mulberries.
- 1 teaspoon vanilla extract: Always choose pure vanilla for maximum flavor.
Prep Notes: Room temperature cream cheese blends smoothly into the mixture without lumps.
Step-by-Step Instructions
MAKE THE MULBERRY PUREE: In a saucepan over medium heat, combine mulberries, granulated sugar, lemon juice, and zest. Stir gently until the berries soften, releasing their juices. Allow to simmer for 10–12 minutes until slightly thickened. Blend until smooth and strain through a fine sieve to catch any seeds. Set aside and let it cool completely.
BLOOM THE GELATIN: In a small bowl, sprinkle the gelatin over cold water. Let it sit for 5–10 minutes until thick. Warm in the microwave for about 10 seconds until fully dissolved, avoiding overheating.
PREPARE THE CREAM CHEESE BASE: In a mixing bowl, beat softened cream cheese, powdered sugar, and vanilla extract until creamy and lump-free.
COMBINE MULBERRY AND GELATIN: Take a few spoonfuls of your cooled mulberry puree and stir into the melted gelatin to temper. Slowly mix this back into the remaining puree, stirring continuously to prevent clumps.
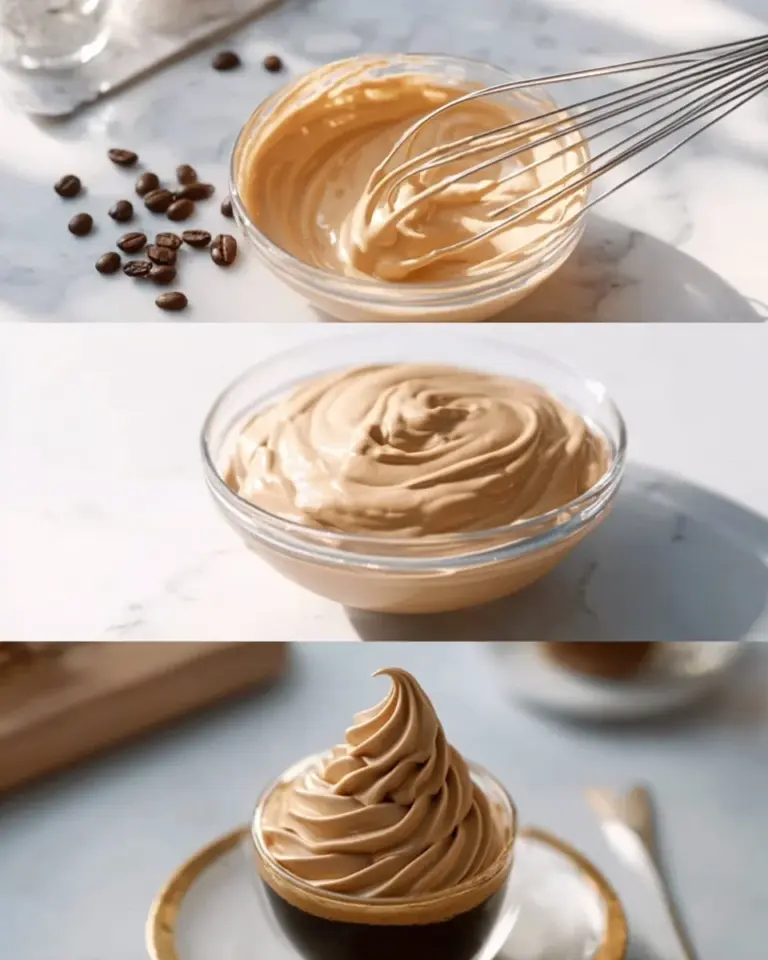
WHIP THE CREAM: In a separate bowl, whip your cold heavy cream until soft peaks form. Stop before achieving stiff peaks to maintain that light texture.
FOLD THE MIXTURE: Fold the mulberry puree into the cream cheese base until well combined. Gently fold in the whipped cream in batches with a spatula, ensuring the mixture remains airy and smooth.
CHILL THE MOUSSE: Refrigerate for 30–45 minutes until slightly thickened but still spreadable for layering.
Chef’s Tips:
- Make sure the cream cheese is at room temperature for easier mixing.
- Avoid overwhipping your cream; soft peaks yield a light mousse while stiff peaks can lead to a grainy texture.
- Common mistake? Forgetting to strain the puree! This step gives you a smoother texture.

Expert Tips & Tricks
Storage Recommendations: Store your mousse in an airtight container in the refrigerator. It can last for up to three days.
Make-Ahead Instructions: You can make the mousse a day ahead of your event. Just give it enough time to chill and set properly!
Troubleshooting Common Problems:
- If your mousse doesn’t set, it might be due to not allowing enough time for the gelatin to bloom or dissolve, so be attentive during this step.
- If it’s too sweet, consider balancing with a pinch of salt or serving it with a tart side like lemon curd.
Serving Suggestions
This luscious Mulberry Mousse Cake Filling is perfect on its own or layered in a rich chocolate cake. Consider pairing it with vanilla ice cream or fresh whipped cream for an added touch of decadence. To present, adorn the mousse with a drizzle of warm chocolate sauce and a sprinkle of fresh berries for a stunning finish—ideal for parties or special family dinners!
Variations & Substitutions
- Flavors: Experiment with other fruits like raspberries, strawberries, or even peaches. Adjust sugar levels accordingly!
- Dietary Adaptations: For a dairy-free option, try using coconut cream and a dairy-free cream cheese alternative.
- Seasonal Variations: During the autumn, consider incorporating spices like cinnamon or nutmeg for a warm flavor twist.
Nutrition & Storage Info
- Prep Time: 30 minutes
- Cook Time: 15 minutes
- Total Time: 1 hour (includes chilling)
- Yield: About 8 servings
- Estimated Calories per Serving: 180 calories
- Storage Instructions: Keep refrigerated for up to 3 days. Can be frozen for 1 month (texture may change upon thawing).
FAQ Section
Can I use other berries instead of mulberries?
Yes! Substitute them with raspberries, blueberries, or blackberries.How can I make this recipe vegan?
Use coconut cream and a plant-based cream cheese alternative and substitute gelatin with agar-agar.What’s the best way to serve this mousse?
Try layering it in a glass with graham cracker crumbs or as a cake filling.Can I freeze the mousse?
You can freeze it for up to a month, but thaw it in the refrigerator for the best texture.Why didn’t my mousse set?
Check that the gelatin bloomed properly and was fully dissolved before adding it to the mixture.Can I include alcohol?
A splash of your favorite liqueur, like Chambord or Amaretto, can add a delightful adult twist.How can I make it more stable for warm weather?
Consider increasing the gelatin by half a teaspoon, especially if the mousse will be outside.What if I don’t have fresh mulberries?
Frozen mulberries work wonderfully; just thaw and drain excess water before use.Can I use a different sweetener?
Yes! Honey, maple syrup, or a sugar replacement could work—just adjust for sweetness.How long does it take for the mousse to chill completely?
If you want it fully firm, allow at least 2 hours in the refrigerator.
Conclusion
This Mulberry Mousse Cake Filling is not just a recipe; it’s a gateway to cherished family moments and summertime sweetness. Whether layered in a cake for a celebration or enjoying it solo, each bite will remind you why homemade is always best. I encourage you to try this delightful mousse—your friends and family will be begging for seconds! Please share your thoughts or any variations you try. If you enjoyed this recipe, don’t miss out on my other treats featuring seasonal fruits—happy baking!

Mulberry Mousse Cake Filling
Ingredients
Method
- In a saucepan over medium heat, combine mulberries, granulated sugar, lemon juice, and zest. Stir gently until the berries soften, releasing their juices. Allow to simmer for 10–12 minutes until slightly thickened. Blend until smooth and strain through a fine sieve to catch any seeds. Set aside and let it cool completely.
- In a small bowl, sprinkle the gelatin over cold water. Let it sit for 5–10 minutes until thick. Warm in the microwave for about 10 seconds until fully dissolved, avoiding overheating.
- In a mixing bowl, beat softened cream cheese, powdered sugar, and vanilla extract until creamy and lump-free.
- Take a few spoonfuls of your cooled mulberry puree and stir into the melted gelatin to temper. Slowly mix this back into the remaining puree, stirring continuously to prevent clumps.
- In a separate bowl, whip your cold heavy cream until soft peaks form. Stop before achieving stiff peaks to maintain that light texture.
- Fold the mulberry puree into the cream cheese base until well combined. Gently fold in the whipped cream in batches with a spatula, ensuring the mixture remains airy and smooth.
- Refrigerate for 30–45 minutes until slightly thickened but still spreadable for layering.