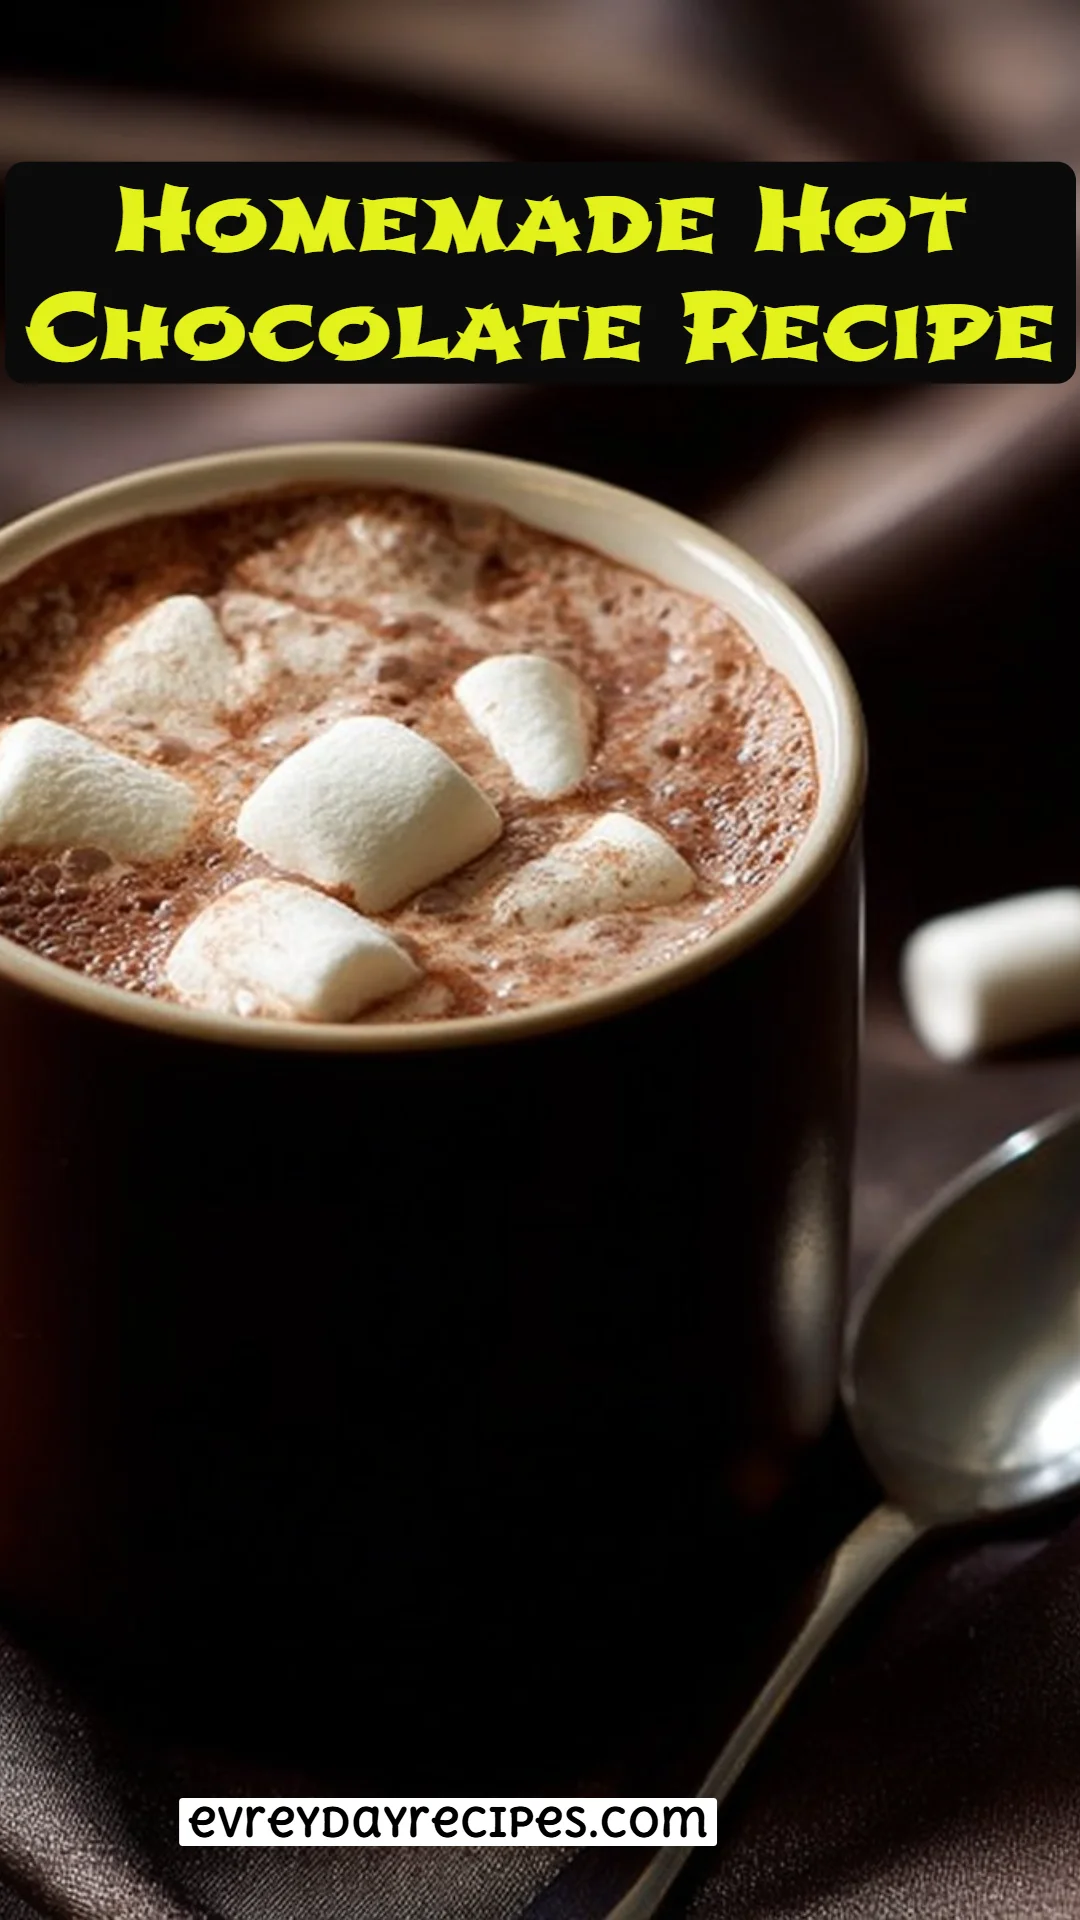
Indulgent Homemade Hot Chocolate Recipe That Will Warm Your Heart
Picture this: It’s a chilly winter evening, and the snow is gently falling outside your window. You’re snuggled up in your favorite blanket, surrounded by the warmth of your family, while the enticing aroma of cocoa fills the air. That’s the moment when a cup of homemade hot chocolate transforms an ordinary day into something magical. This Homemade Hot Chocolate Recipe is not just a drink; it’s a warm hug in a mug, evoking memories of childhood and cozy evenings spent with loved ones.
What makes my version stand out? It’s all about using quality ingredients, a meticulously crafted process, and the love that goes into each steaming cup. Unlike store-bought options, this rich and creamy hot chocolate allows for endless customization—you can adjust the sweetness, enhance the chocolatey goodness, and add those fluffy marshmallows according to your taste preferences. This isn’t just “hot chocolate,” it’s an experience filled with comfort and joy.
So, grab your whisk and get ready to learn how to create the perfect homemade hot chocolate that will undoubtedly become a beloved tradition in your household.
What Are Homemade Hot Chocolate Recipes?
Homemade hot chocolate has roots tracing back to the ancient Mayans, who drank a spiced version of chocolate as a bitter beverage. Over the years, it has evolved into the sweet, creamy delight we all know and love today. This homemade hot chocolate is velvety smooth, with a distinct richness that store-bought mixes just can’t replicate. The soft texture of marshmallows melting into the chocolate adds a delightful creaminess, creating a luscious treat that’s simply irresistible.
You might wonder when to make it. The answer? Anytime! It’s the perfect drink for holiday gatherings, a cozy night in, or even as a pick-me-up when the weather outside gets a little too nippy.
Why You’ll Love This Recipe
1. Rich Flavor
Using high-quality ingredients means every sip bursts with chocolatey goodness. Say goodbye to that chalky aftertaste from store-bought mixes and hello to a true chocolate lover’s dream.
2. Cost-Effective
Why spend $5 on a fancy cup of hot chocolate when you can whip up a batch for just a few dollars? My recipe yields several servings, making it a budget-friendly choice.
3. Customizable
Want to add a sprinkle of cinnamon, a dash of peppermint, or maybe even a hint of orange zest? With this recipe, the sky’s the limit for personalization.
4. Easy to Make
You don’t need to be a pro in the kitchen to create this indulgent drink. It requires minimal effort and time, making it accessible for everyone.
5. Perfect for Any Occasion
Whether it’s a snowy day, a family gathering, or a holiday celebration, this homemade hot chocolate will elevate any moment.
With these compelling reasons, I promise you’ll be running to the kitchen to make this recipe. Now let’s get started!
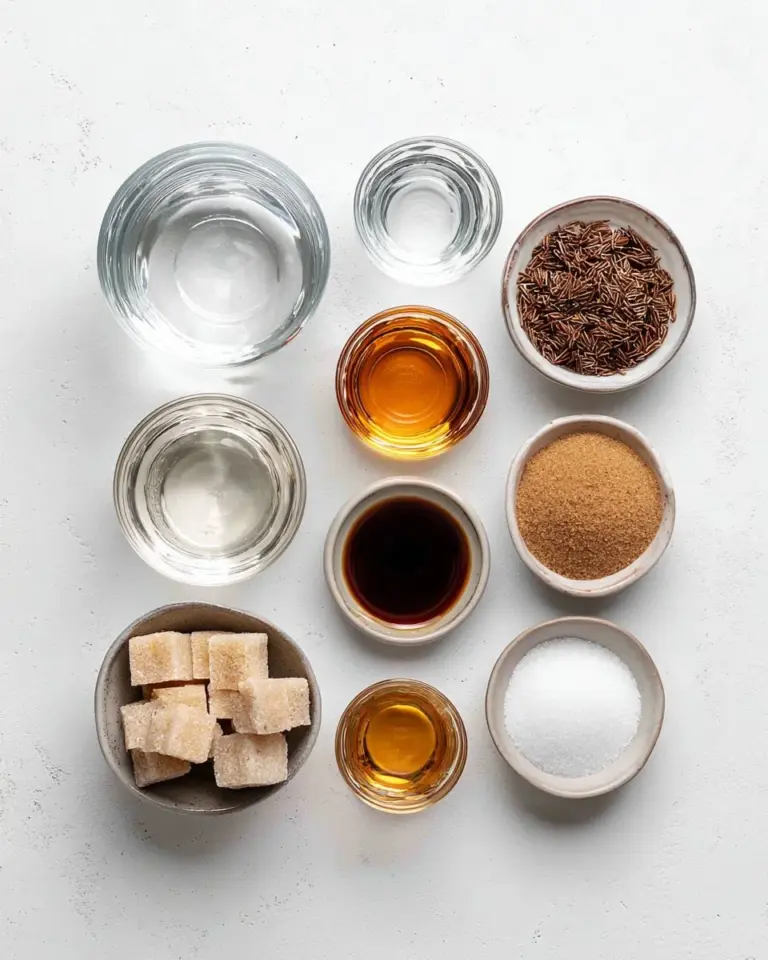
Ingredients
Creating the best homemade hot chocolate recipe starts with choosing quality ingredients. Here’s what you’ll need:
- 4 cups whole milk: For a creamy texture. Feel free to substitute with almond milk or oat milk for a dairy-free option.
- 1/2 cup granulated sugar: Adjust sweetness to your liking; you can use honey or agave for healthier alternatives.
- 1/4 cup unsweetened cocoa powder: Use a high-quality cocoa powder for rich flavor. I love using Ghirardelli.
- 1 1/2 cups miniature marshmallows: These melt beautifully and add just the right amount of sweetness.
- 1 teaspoon vanilla extract: A subtle yet impactful addition that rounds out the flavors.
Prep notes: Ensure your milk is at room temperature for quicker heating, and if you prefer a deeper chocolate flavor, opt for Dutch-processed cocoa powder.
Step-by-Step Instructions
Step 1: Combine Ingredients
In a medium saucepan set over medium-low heat, combine all ingredients—4 cups of whole milk, 1/2 cup of granulated sugar, 1/4 cup of unsweetened cocoa powder, 1 1/2 cups of miniature marshmallows, and 1 teaspoon of vanilla extract.
Step 2: Heat and Stir
Carefully stir the mixture to combine. You want to keep an eye on it, ensuring it doesn’t boil. Heat for about 10 minutes, stirring regularly until the marshmallows are melted and everything is smooth. You’ll know it’s ready when the mixture is heated through and starts to emit a delightful chocolatey aroma.
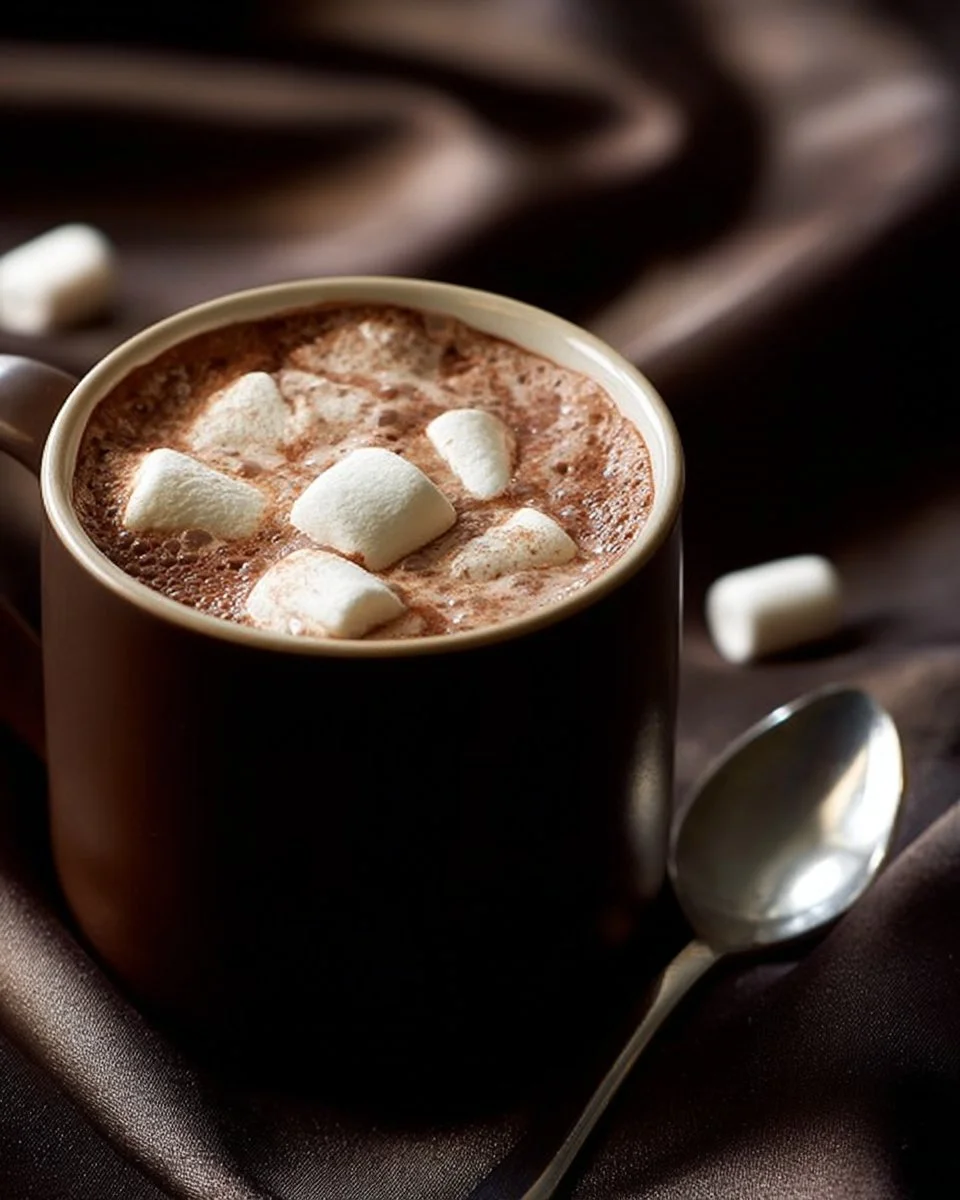
Step 3: Serve
Remove the saucepan from the heat and pour the hot chocolate into your favorite mugs. This can be a wonderful opportunity to add toppings like whipped cream, chocolate shavings, or even a sprinkle of cinnamon on top.
Chef’s Tips
- Common Mistakes: Avoid boiling the mixture to prevent scorching the milk.
- Serving suggestion: Add whipped cream and top with a drizzle of chocolate syrup for a truly decadent treat.
Expert Tips & Tricks
- Quality Matters: Using full-fat milk or cream will yield an even richer hot chocolate.
- Make-ahead: You can make a large batch and store it in the fridge. Just reheat when you’re ready to drink.
- Storage: If you have leftovers, they can last in the fridge for 3 days. Just heat gently when you’re ready to enjoy it again.
- Troubleshooting: If the hot chocolate seems too thick, just whisk in a little more milk until your desired consistency is achieved.
- Gifting: Consider layering dry ingredients in a jar as a thoughtful gift. All the recipient needs to do is add milk!
Serving Suggestions
Serve this delightful homemade hot chocolate alongside freshly baked cookies, decadent brownies, or a warm slice of banana bread. For a festive touch, consider garnishing with a candy cane during the holiday season. A simple yet elegant touch can be achieved with whipped cream and a dusting of cocoa powder on top—perfect for impressing guests!
Variations & Substitutions
Flavors: Spice things up with peppermint extract for a minty twist, or try a hint of caramel syrup for an extra layer of sweetness. For an autumn vibe, add a dash of pumpkin spice.
Dietary Needs: For a dairy-free option, swap out whole milk for almond, coconut, or oat milk. You can also use sugar substitutes if you’re cutting back on sugar.
Seasonal Variations: During the holidays, think about adding orange zest or a dollop of eggnog for a festive flair.
Nutrition & Storage Info
- Prep time: 5 minutes
- Cook time: 10 minutes
- Total time: 15 minutes
- Yield: Serves 4
- Estimated calories per serving: 350
- Storage: Refrigerate leftovers for up to 3 days. Reheat gently on the stove or in the microwave.
FAQ Section
Can I use non-dairy milk?
Absolutely! Almond milk, coconut milk, or oat milk work beautifully in this recipe.How can I make it sugar-free?
Use sugar substitutes like erythritol or stevia to suit your dietary needs.Can I make this in a slow cooker?
Yes! Combine all ingredients in a slow cooker and heat on low for 2-3 hours, stirring occasionally.What if my hot chocolate is too thick?
Simply whisk in additional milk until you reach your desired consistency.Can I add alcohol for an adult version?
A splash of bourbon or Irish cream can make this hot chocolate a cozy treat for adults.Is it necessary to sift the cocoa powder?
While not mandatory, sifting helps avoid lumps and ensures a smoother hot chocolate.Can I make it ahead of time?
Yes, but it’s best enjoyed fresh. It can be refrigerated and reheated later on.What toppings do you recommend?
Whipped cream, chocolate shavings, and crushed peppermint are all fantastic!How long does homemade hot chocolate last?
You can keep it in the fridge for up to 3 days, but it’s best consumed fresh.Is homemade hot chocolate healthier than store-bought?
Yes, you can control the sugar and use high-quality ingredients, making it a healthier choice.

Conclusion
This Homemade Hot Chocolate Recipe has transformed into much more than a comforting drink; it’s a vessel of cherished memories and warm moments. It’s rich, creamy, and bursting with flavor, leaving you craving just one more sip. I encourage you to try it, and I’d love to hear how it turned out for you! Leave a comment below sharing your experience or any personal tweaks you made.
Feeling inspired? Check out my other cozy recipes, like my Decadent Chocolate Chip Cookies and Heavenly Cream Cheese Frosting, for more delicious treats to enjoy with your homemade hot chocolate. Happy sipping!

Homemade Hot Chocolate
Ingredients
Method
- In a medium saucepan set over medium-low heat, combine all ingredients: 4 cups of whole milk, 1/2 cup of granulated sugar, 1/4 cup of unsweetened cocoa powder, 1 1/2 cups of miniature marshmallows, and 1 teaspoon of vanilla extract.
- Carefully stir the mixture to combine, ensuring it doesn’t boil. Heat for about 10 minutes, stirring regularly until the marshmallows are melted and everything is smooth. The mixture will be ready when it is heated through and emits a delightful chocolatey aroma.
- Remove the saucepan from the heat and pour the hot chocolate into your favorite mugs. Add toppings like whipped cream, chocolate shavings, or a sprinkle of cinnamon if desired.