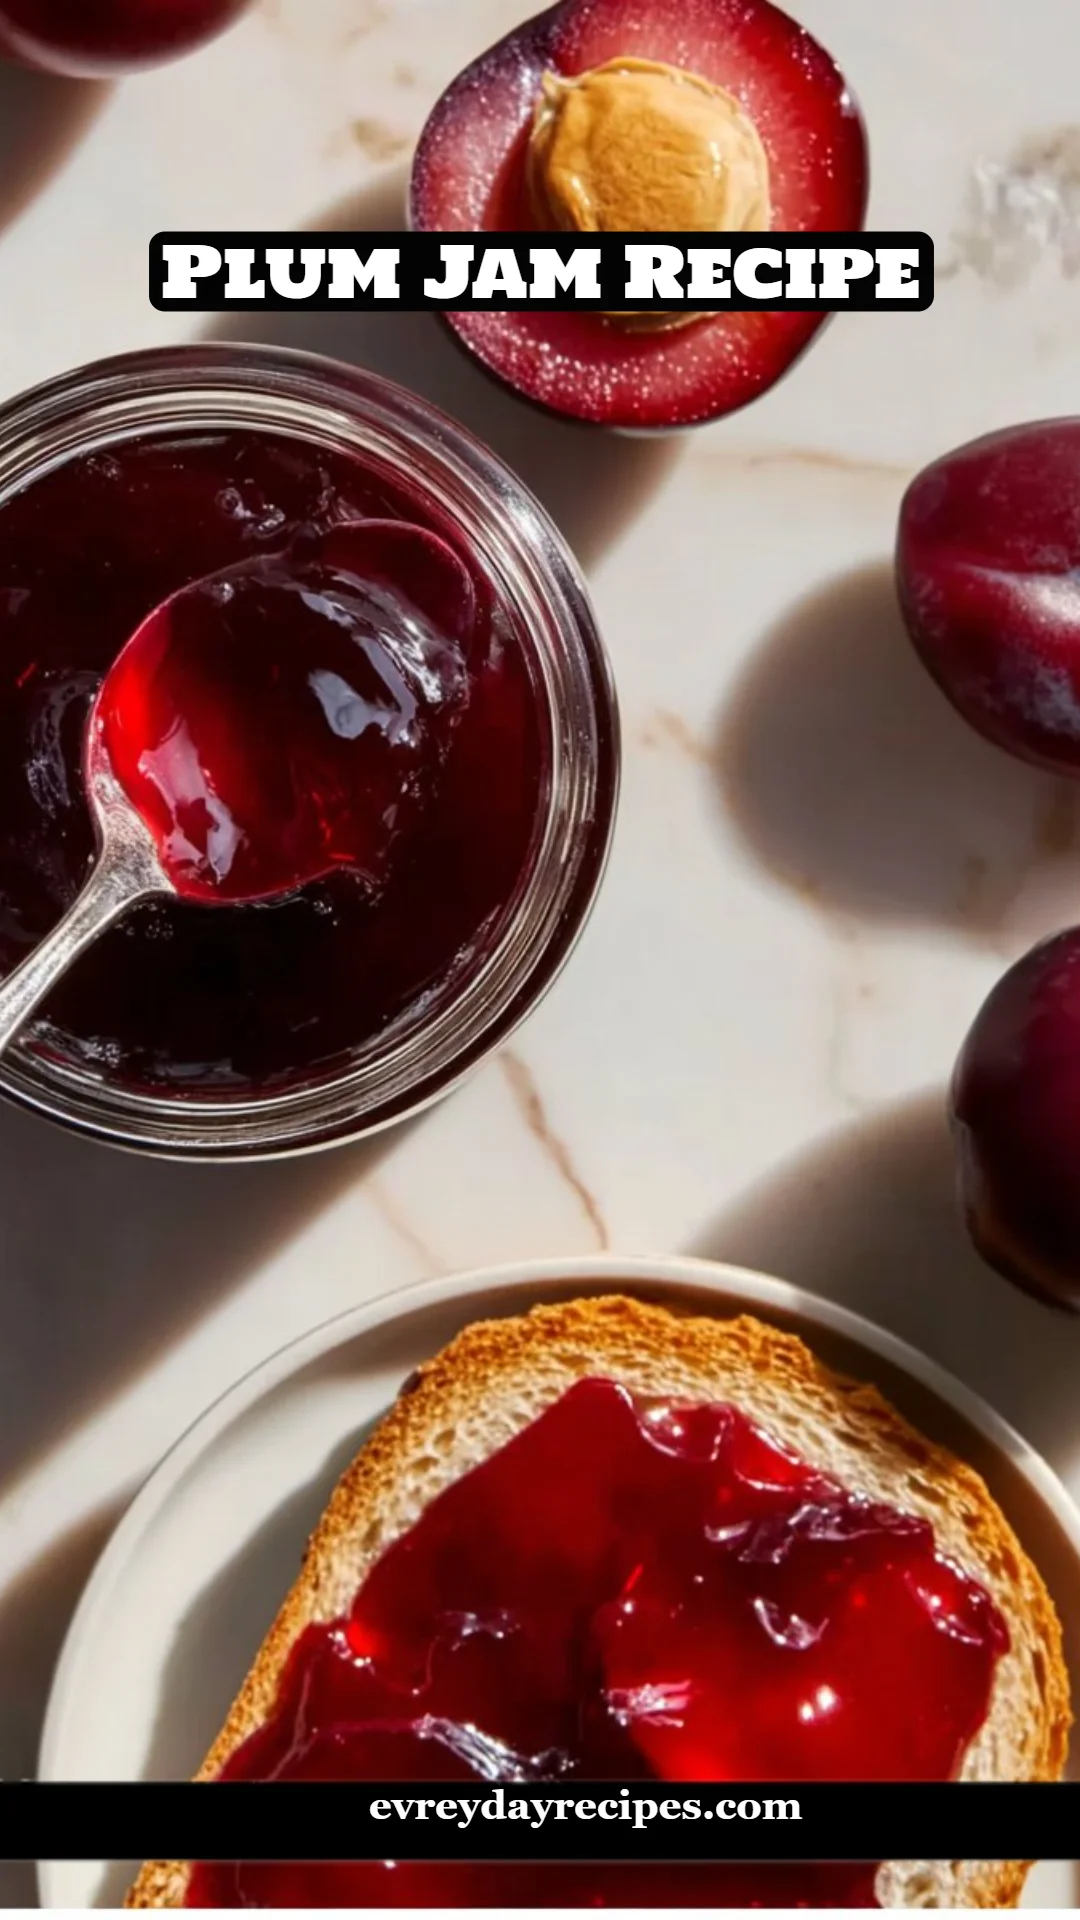
Irresistibly Delicious Plum Jam Recipe: A Unique Twist on a Family Favorite
There’s something magical about preserving the essence of summer in a jar, wouldn’t you agree? I vividly remember the warm afternoons spent in my grandmother’s kitchen, the air thick with the sweet, tangy aroma of bubbling plums. That’s where my love for making homemade fruit preserves began, and this Plum Jam Recipe holds a special place in my heart. Each spoonful carries a piece of those sunny days, filled with family stories, laughter, and the joy of creating something delicious from simple, ripe fruit.
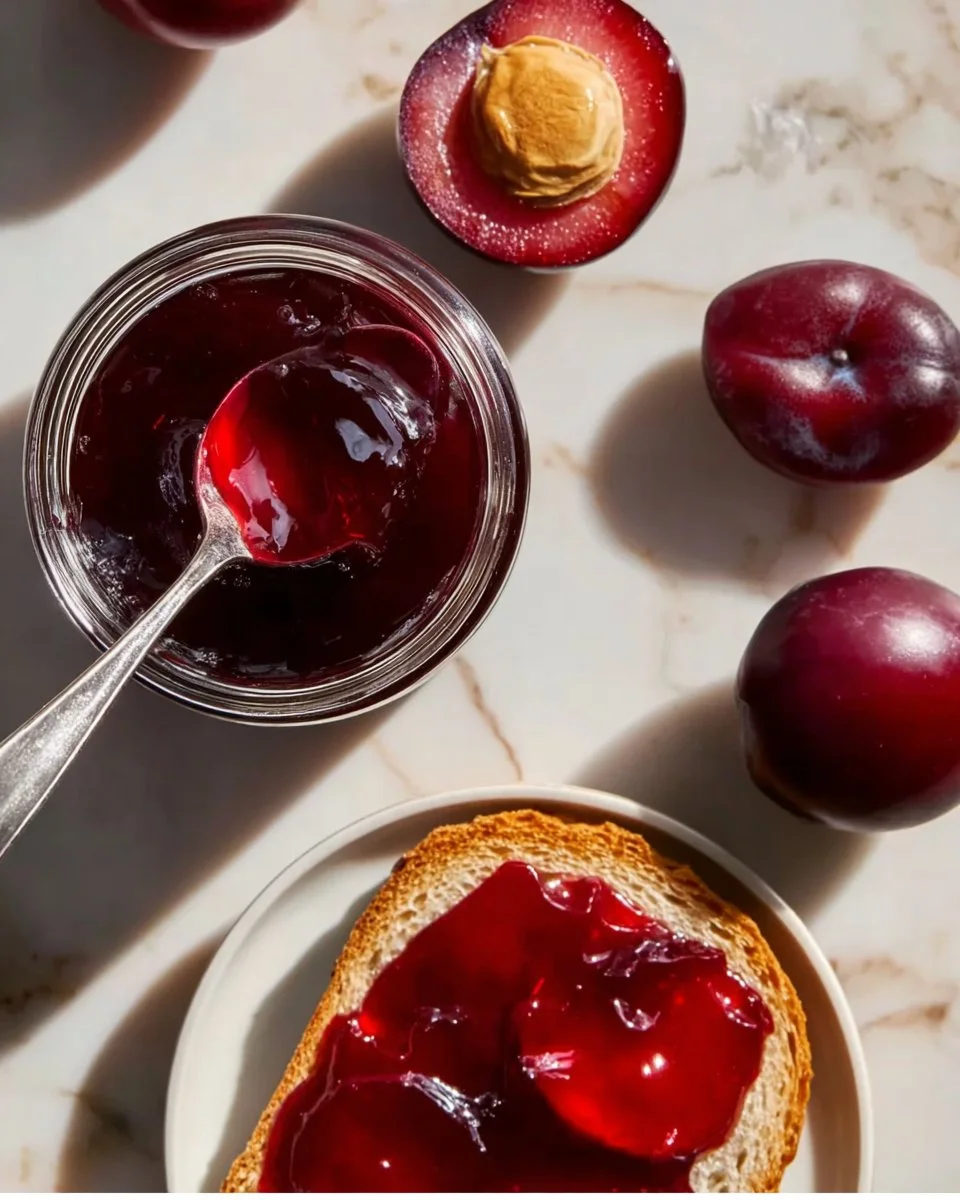
What sets this plum jam apart from others is its unparalleled freshness and the balance of flavors that come through. The ripe plums are perfectly sweet, and when mixed with just the right amount of sugar and a splash of lemon juice, they transform into a velvety spread that can brighten any breakfast or dessert. Unlike store-bought options, which often contain preservatives and artificial flavors, this jam is made with love and care using only four ingredients. Plus, you have control over the sweetness and texture!
In this blog post, you’ll learn how to recreate my cherished Plum Jam Recipe in your own kitchen, filled with tips and tricks I’ve gathered over the years. Get ready to impress your friends and create fond memories of your own!
What Are Plum Jam Recipes?
Plum jam has a rich history that dates back centuries, with origins tracing back to Asia, where plums were first cultivated. This delectable preserve captures the intrinsic sweetness and slight tartness of plums, creating a vibrant flavor profile that makes it a favorite for toast, desserts, and even savory pairings.
The texture is a delightful mix of smooth and chunky, with bits of fruit creating a beautiful rustic look in each jar. What makes plum jam unique compared to other fruit preserves is its natural depth of flavor—thanks to the plums’ pectin content, you can achieve a lovely consistency that spreads effortlessly.
Whether you’re making it to celebrate late summer’s bounty or to give as gifts during the holidays, plum jam is the perfect kitchen project. It’s a way to savor the season, and trust me, once you taste this homemade delight, you’ll want to spread it on everything!
Why You’ll Love This Recipe
There are countless reasons to add this Plum Jam Recipe to your culinary repertoire, and here are just a few that stand out:
Freshness You Can Taste: No more shelf-stable, artificial flavors in your jam. This recipe showcases the plums in their purest form—ripe and bursting with flavor.
Cost-Effective: Making your jam at home is surprisingly economical. With just a couple of pounds of plums and minimal ingredients, you can create a spread that would cost you significantly more at a store.
Endless Customization: Whether you prefer your jam sweeter, spicier (hello cinnamon!), or with a hint of vanilla, this recipe is customizable. You can experiment with different versions until you find your favorite.
Easy and Quick: Don’t fear that jam-making is reserved solely for expert chefs. This recipe is designed for home cooks like you and me, with a straightforward process that requires around an hour from start to finish.
Joy of Giving: Homemade plum jam makes for a thoughtful gift, perfect for holidays, housewarmings, or just because. A beautifully jarred jam can bring smiles and warm hearts.
Trust me, once you start making your delightfully sweet plum jam, you won’t want to revert to store-bought.
Ingredients for Plum Jam Recipe
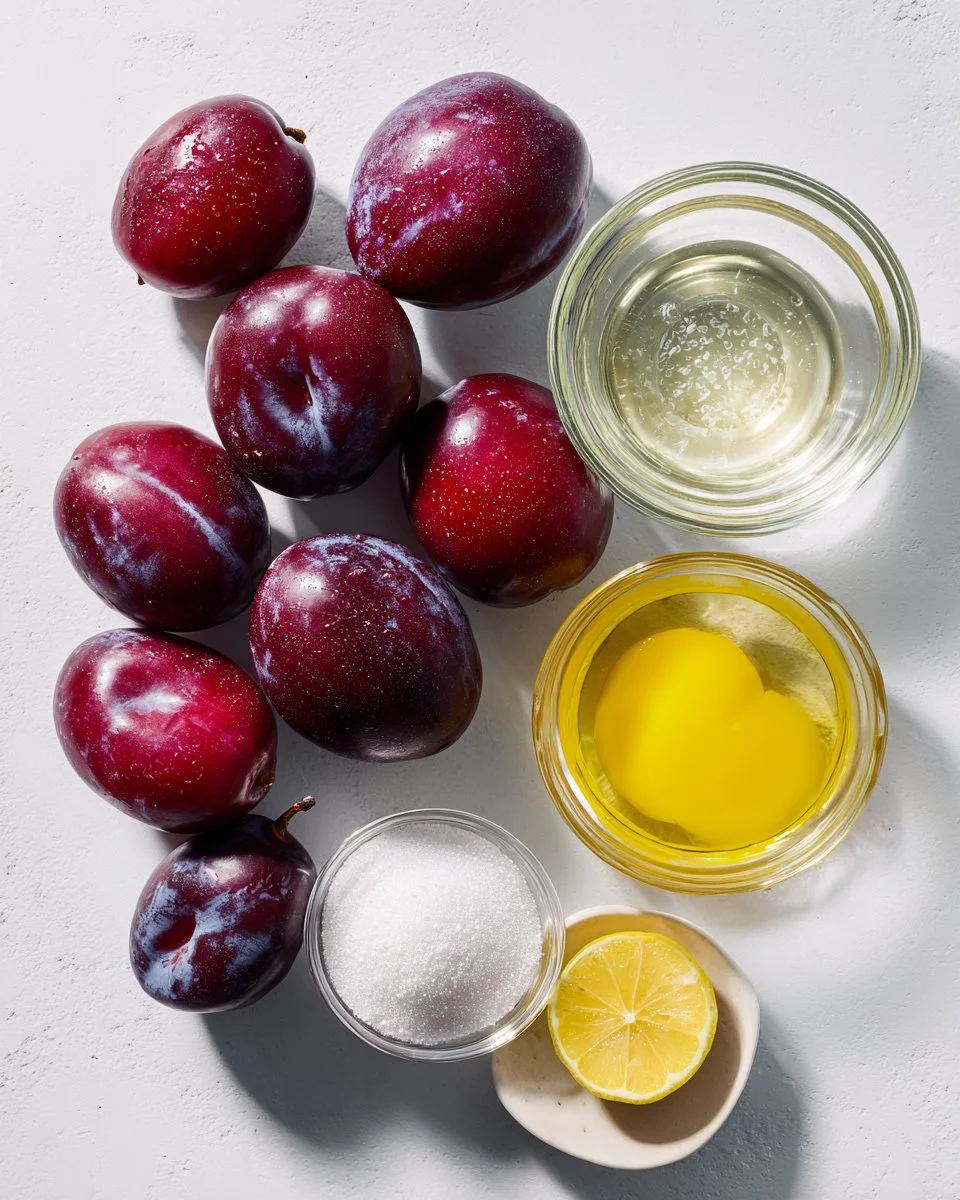
To create the perfect plum jam, you will need the following ingredients:
- 2 pounds (900 g) ripe plums: Choose plums that are firm yet slightly soft to the touch. If you can, go for organic; the flavor is often richer.
- 1 ½ cups (300 g) granulated sugar: A classic choice, but feel free to experiment with honey or maple syrup for natural sweetness.
- 1 tablespoon fresh lemon juice: This adds a bright acidity that helps balance the sweetness.
- ¼ cup water: This helps to get things started while the fruit releases its juices.
Prep Notes: Make sure your plums are at room temperature before starting, as they’ll mash more easily.
Ingredient Quality: When it comes to jam, fresher ingredients yield better results. If you have access to a local farmers market, this is the perfect opportunity to grab some fresh plums.
Brand Recommendations: For sugar, I love using Domino or C&H, as they dissolve efficiently and have a balanced sweetness level.
Step-by-Step Instructions
Now, let’s dive into the jam-making process with detailed steps to ensure your plum jam turns out perfectly every time.
Prepare the Plums: Wash the plums thoroughly under cool running water. Cut each plum in half and remove the pits, being careful not to waste any fruit. Chop the plums into small chunks, leaving the skins on for color, texture, and natural pectin.
Mix Ingredients: In a large heavy-bottomed pot, combine the chopped plums with granulated sugar, lemon juice, and water. Stir until everything is evenly mixed, then let it sit for 15–20 minutes to allow the plums to release their juices.
Cook the Jam: Begin heating the mixture over medium heat. Stir frequently to prevent sticking. Once it starts to boil, reduce the heat to maintain a gentle simmer. Cook for 20–30 minutes, stirring every few minutes until the jam thickens. You’ll know it’s ready when it coats the back of a spoon.
Test the Consistency: To test for doneness, use the cold plate method. This involves putting a spoonful of jam on a cold plate and tilting it. If it wrinkles and holds shape, it’s ready! If it still looks runny, cook for another 5–10 minutes, testing again afterward.
Fill the Jars: Remove the pot from the heat and allow the jam to cool slightly. Carefully spoon the hot jam into clean jars, leaving a little space at the top. Allow them to cool completely at room temperature before sealing. For longer storage, follow proper canning methods.
Chef’s Tips:
- If you prefer a smooth consistency, consider blending a portion of the jam before bottling.
- Be cautious not to overcook, as this can lead to a jam that’s too thick.
Common Mistakes to Avoid: Overcooking can result in a tough or candy-like texture, so keep a close eye on it as it simmers.
Expert Tips & Tricks
To perfect your Plum Jam Recipe, consider these expert recommendations:
Use Ripe Fruit: The sweeter and riper your plums are, the better your jam will taste. Avoid any bruised fruit.
Store Properly: Keep your jam sealed in the refrigerator for up to three weeks, or try canning for longer storage. If opting for canning, ensure your jars are sterilized.
Make-Ahead: This jam can be made ahead of time, so consider making a larger batch to enjoy or give as gifts later.
Troubleshoot: If your jam doesn’t thicken, it could be because the mixture hasn’t reached a high enough temperature. Simply continue cooking and keep testing!
Enhance Flavors: Add a pinch of cinnamon or a splash of vanilla extract to elevate the flavor profile of your jam.
Freezing Option: If you have leftover jam, it can be frozen in airtight containers for up to six months.
Serving Suggestions
There are countless ways to enjoy your homemade plum jam! Here are a few ideas to get you started:
- On Toast: Spread a generous layer of jam on a slice of crusty bread or warm toast for a delicious breakfast.
- Baking Delight: Use it as a filling for pastries, tarts, or thumbprint cookies for an unexpected fruity surprise.
- Savory Pairing: Try it as a glaze on roasted meats or a topping on creamy cheeses for a unique appetizer.
- Presentation: Serve in charming jars with a ribbon for a delightful gift presentation.
This jam is perfect for brunches, picnics, or simply as a cozy treat at home.
Variations & Substitutions
Why stop at classic plum jam? Here are some delightful variations to experiment with:
- Spiced Plum Jam: Add a touch of cinnamon, nutmeg, or ginger to bring warmth and complexity to the flavor.
- Mixed Fruit Jam: Combine plums with berries or apples for a delicious medley of flavors.
- Low-Sugar Options: Substitute granulated sugar with a natural sweetener like agave nectar or honey for a healthier twist.
- Herb-Infused: Infusing your jam with herbs like rosemary or thyme can add an exciting twist for more adventurous palates.
Nutrition & Storage Info
- Prep Time: 15 minutes
- Cook Time: 30 minutes
- Total Time: 45 minutes
- Yield: Approximately 4 cups of jam
- Estimated Calories: About 50 calories per tablespoon
- Storage Instructions: Keep in the refrigerator for up to 3 weeks or store in the freezer for up to 6 months.
FAQ Section
Can I use frozen plums to make jam?
Yes, frozen plums can work, but let them thaw completely and drain any excess water before cooking.Can I make this without sugar?
While sugar is important for preservation and flavor, you can experiment with sugar substitutes, but the results may vary in texture.Is it necessary to use pectin?
No, this recipe relies on the natural pectin in plums, but you can add commercial pectin if you want a firmer jam.How do I know if my jam has set?
The cold plate method is the best way to test. When it has set, it will wrinkle and hold its shape.What else can I do with plum jam?
Besides spreading on toast, it can be used as a filling for pastries, yogurt topping, or a glaze for meats.What plums are best for jam?
Sweet varieties like Santa Rosa or Italian plums work perfectly due to their high sugar and pectin content.How long can I store this jam?
In the fridge, it lasts up to 3 weeks. For long-term storage, consider proper canning techniques.Can I make a smaller batch?
Absolutely! You can halve the ingredients and follow the same steps for a smaller batch.How do I know if my jars are properly sealed?
After cooling, press the center of the lids. If it pops back, it didn’t seal properly; if it stays down, it is sealed.Can I add other fruits to this jam?
Yes! Mixing in other fruits can create delicious flavor combinations and add variety to your preserves.

Conclusion
This Plum Jam Recipe not only helps you capture the essence of summer but also offers the joy of creating something special in your kitchen. Layering memories, flavors, and a sprinkle of creativity, it’s a treat that deserves a spot on your breakfast table. So why not give it a try? I can’t wait to hear how your jam turns out! Share your thoughts or any variations you try in the comments below. And if you’re hungry for more delicious recipes, be sure to check out my blog for inspiration on everything from fruit tarts to comforting pies!

Plum Jam
Ingredients
Method
- Wash the plums thoroughly under cool running water. Cut each plum in half and remove the pits, carefully chopping the plums into small chunks while keeping the skins on for better texture and pectin.
- In a large heavy-bottomed pot, combine the chopped plums with granulated sugar, lemon juice, and water. Stir until evenly mixed and let sit for 15–20 minutes.
- Heat the mixture over medium heat, stirring frequently to prevent sticking. Once it boils, reduce to a gentle simmer for 20–30 minutes, stirring every few minutes until thickened.
- To test doneness, use the cold plate method: place a spoonful of jam on a cold plate and tilt; if it wrinkles and holds shape, it's ready. If not, cook for an additional 5–10 minutes.
- Remove the pot from heat, allow to cool slightly, then carefully spoon hot jam into clean jars, leaving a little space at the top. Cool completely before sealing for refrigeration or follow canning methods for longer storage.